
If your aquarium water is constantly cloudy and your fish seem stressed, learning how to set up a dual canister filter is the ultimate game-changer for your tank. Running two filtration units instead of one provides unmatched biological redundancy and pristine water clarity that single-filter systems simply cannot replicate. If one unit fails or gets clogged, the other keeps your ecosystem alive.
Imagine the sheer peace of mind of knowing that if one filter motor suddenly fails in the middle of the night, your beloved fish are completely safe because the second unit has their back. As a professional seamstress who spent years stitching complex garments and a long-distance runner pacing my runs, I know that success relies entirely on double-checking your seams and having a solid backup plan. Over my 8 years of keeping goldfish and managing a heavy-bioload 100-gallon (400-liter) tank, I have found that a dual-filter setup is the only way to keep water crystal clear without constant panic.
When I first started, I was terrified of canister filters. They looked like terrifying, water-filled bombs waiting to leak and ruin my living room floorboards. The anxiety of coming home to a drained tank and gasping fish is incredibly real for any beginner. Setting up two of these beasts at once might sound like double the trouble, but it is actually the easiest way to slash your maintenance time and protect your aquatic ecosystem from sudden biological crashes.
The Structural Blueprint of a Dual Filter System
To get the most out of this setup, you cannot simply throw two filters under your tank and hope for the best. You need a clear strategy for flow patterns and media distribution. Just as a professional seamstress needs to ensure the tension on both the upper thread and bobbin are balanced perfectly for a smooth stitch, a dual canister filter setup requires you to balance the flow and placement of both units to avoid chaotic currents.
The Good Side: By running two separate canisters, you can stagger your cleaning schedule—cleaning Filter A on the first of the month and Filter B on the fifteenth—which prevents you from accidentally wiping out your beneficial nitrifying bacteria.
The Negative Point: This configuration requires double the cabinet space under your stand, twice as many electrical outlets, and a jungle of hoses that can easily kink if you do not route them with extreme care.
When choosing your equipment, you can go with premium options like the Fluval FX series, which offers mind-blowing flow rates and huge media capacity that can turn any dirty tank into a clean oasis. However, the motor head is incredibly heavy, and if you open it clumsily during cleaning, you can easily crack the plastic clips and flood your living room floor.
Alternatively, the Oase BioMaster series features a genius pre-filter chamber that lets you pull out dirty sponges without opening the main canister body. But the internal priming button is notorious for trapping micro-bubbles, resulting in an annoying, constant rattling noise that will drive you crazy if the tank is in your bedroom.
Criss-Cross Flow vs. Same-Side Flow
Where you place your intake and output pipes determines whether your tank has healthy, circulating water or dangerous, stagnant dead zones. Most beginners make the mistake of grouping all their plumbing in one corner, which creates a washing-machine effect on one side of the tank while poop and debris pile up on the opposite side.
The best method is the “Criss-Cross” flow pattern. Place the intake pipe of Filter A in the back-left corner and its output nozzle in the back-right corner, pointing slightly forward. Then, place the intake of Filter B in the back-right corner and its output in the back-left corner. This creates a circular, sweeping current across the entire bottom of the tank, pushing solid waste directly toward the intakes.
The Reality of the Battlefield
Let’s talk about what actually happens in the real world, away from the glossy marketing photos and pristine showroom floors. Manufacturers love to promise that their canisters are “completely silent” and feature “tool-free, leak-proof valves.” In reality, the hobby is wet, messy, and hard on plastic gear.
In real-life practice, cheap plastic quick-disconnect valves become stiff and brittle after a year of exposure to calcium-rich tank water. When you try to force them open during a routine cleaning, they can easily snap, spraying water all over your cabinet.
Many popular canister brands also use cheap, low-grade rubber O-rings. While they seal perfectly when brand new, they dry out, stretch, and crack after a few cleanings. If you do not lubricate them with food-grade silicone grease every single time you open the canister, they will slowly weep water, slowly rotting the wooden base of your aquarium stand without you noticing.
As a long-distance runner, I know that trying to sprint a marathon without pacing yourself leads to a quick collapse. Your biological filter works the exact same way—it needs a steady, paced flow of oxygenated water to keep the beneficial bacteria alive. If you pack your canister baskets too tightly with dense polishing pads, the flow rate will drop to a crawl within weeks, choking out your bacteria and causing an ammonia spike.
Hypothetical Error Scenario
Imagine this: You set up your brand-new dual filters on a Sunday. Eager to get pristine water, you pack both canisters from top to bottom with ultra-fine water polishing pads. You turn them on, and the water looks like liquid glass. You feel like a genius.
Three weeks later, you go on a short weekend trip. While you are away, your goldfish kick up some extra sand and waste. Because both filters are packed with dense pads, they clog simultaneously. The flow rates drop by 90%, the oxygen levels in the canisters plummet, and your beneficial bacteria die off.
You come home Sunday evening to a cloudy, foul-smelling tank, and your prized fish are gasping at the surface. This classic mistake happens because there was no division of labor between the two filters; they both clogged at the exact same time.
In 30 Seconds
If you are in a rush, here is the raw, no-nonsense repair shop counter talk on how to make this work:
Do not run both filters with the exact same media setup. It is a waste of potential.
Designate Filter A as your “Mechanical Workhorse” and pack it with coarse, medium, and fine sponges to catch debris.
Designate Filter B as your “Biological Powerhouse” and pack it purely with high-quality ceramic rings or porous stone, using only a single coarse pre-filter sponge.
This ensures Filter B never clogs, maintaining a constant, high-volume flow of clean, oxygenated water to your biological bacterial colony, even if Filter A gets packed with mud.
Always use a heavy-duty drip loop on your power cords, and place both canisters in plastic utility trays to catch the inevitable drips during maintenance.
Comparing Dual Filter Strategies
To help you choose how to configure your dual system, here is a breakdown of the three most effective strategies:
| Strategy Name | Filter A Configuration | Filter B Configuration | Best Suited For | The Real Catch |
|---|---|---|---|---|
| The Mechanical & Bio Split | 100% Sponges & Floss | 100% Ceramic Media | Messy fish like Goldfish and Oscars | Filter A requires weekly cleaning to prevent nitrate buildup. |
| The Redundant Identical | 50% Mechanical / 50% Bio | 50% Mechanical / 50% Bio | Community tanks & Aquascapes | Lower overall biological capacity than the split method. |
| The Chemical Specialist | 70% Mechanical / 30% Bio | 30% Bio / 70% Carbon & Purigen | Tanks with heavy driftwood or odors | Chemical media is expensive and must be replaced monthly. |
Step-by-Step Plumbing and Priming
Plumbing a dual system requires patience. Before you cut any hoses, lay them out next to the tank to measure the run. You want your hoses to have smooth, sweeping curves; sharp angles will kink, cutting off your flow completely.
When cutting vinyl tubing, always leave an extra two inches of slack. If you cut the hoses too short, the tension will pull on the plastic intake and output connections on the tank rim, slowly warping them until they lose their seal and start sucking in air bubbles.
Once your plumbing is secure, prime the filters one at a time. Shut off the valves on Filter B, prime and start Filter A, and let it run for ten minutes to clear out any trapped air. Only then should you repeat the process for Filter B. Trying to prime both at the same time is a guaranteed way to get airlocks in your lines, leading to noisy, dry-running impellers.
Troubleshooting Checklist
- Learn how to set up a dual canister filter by mapping your intake and output lines on paper before buying any plumbing accessories. (Insider tip: Draw the flow currents with arrows to make sure you do not accidentally create a giant whirlpool that exhausts your fish).
- Lubricate every single rubber gasket with food-grade silicone grease during the initial assembly. (Insider tip: Never use petroleum jelly like Vaseline; it will degrade the rubber seal within months, causing sudden, major leaks).
- Place a shallow plastic boot tray under both canisters inside your cabinet. (Insider tip: This cheap tray will save your wooden cabinet floor from the inevitable splashes and drips that happen every single time you pop the quick-release valves).
- Secure all hose connections with marine-grade plastic or stainless steel hose clamps. (Insider tip: Do not rely on the cheap plastic twist-nuts that come in the box; they can strip easily if you over-tighten them).
- Keep a spare set of impeller shafts and motor head O-rings in your cabinet at all times. (Insider tip: These parts always break on a holiday weekend when every local fish store is closed).
- Install a small, battery-operated water alarm inside your cabinet tray. (Insider tip: This tiny device screams at the first drop of moisture, giving you plenty of warning before a leak turns into a living room flood).
- Label your power plugs with waterproof tape (“Filter A Left” and “Filter B Right”). (Insider tip: When you are in a panic trying to stop a leak, you do not want to trace tangled cords to find the right plug).
- Shake the canisters gently side-to-side after priming them to release trapped air pockets. (Insider tip: If the filter is rattling like a spray paint can, there is air trapped in the media baskets; shaking it will burp the air out safely).
- Clean only one filter at a time, leaving at least two weeks of cushion before touching the second unit. (Insider tip: This is the golden rule of biological safety; cleaning both at once is equivalent to resetting your tank cycle).
- Trim any sagging, excess hose to create the straightest path possible from the tank to the canister. (Insider tip: Every extra foot of hose reduces your filter’s flow rate by roughly 5% due to friction).
- Use a pre-filter sponge over both intake grates inside the tank. (Insider tip: This stops baby fish, shrimp, and large leaves from getting sucked into the canister, keeping your main sponges cleaner for much longer).
👇 Looking for more performance cheats? Check out our field-tested tactical blueprints:
The Goldfish Ecosystem Blueprint
Complete your advanced technical training loop by exploring our core evergreen resources.
How to Feed Goldfish for Maximum Lifespan
A deep breakdown of digestive tract mechanics, bloating prevention, and premium sinking diets.
How to Maintain a 100 Gallon Goldfish Tank
Large-scale system parameters. Deep sand bed mechanics, nitrogen cycling, and bioload management.
Ultimate Guide to Goldfish Tank Filtration
Heavy-duty hardware configurations. Optimizing parallel canisters, bio-media setups, and automation.
Frequently Asked Questions
Is running two smaller canister filters better than one massive canister?
Yes, absolutely. Two smaller filters give you total biological redundancy and allow you to stagger your cleaning schedules. If a single massive filter fails, your tank has zero filtration. With two, you have a built-in safety net that keeps your fish alive while you source replacement parts.
Will a dual setup create too much current for my fancy goldfish?
It can if you point the nozzles directly at the center of the tank. To prevent this, aim the output nozzles toward the back glass or use spray bars to distribute the flow evenly. This breaks up the harsh jet of water while keeping the high-turnover filtration benefits.
Do I need to run chemical media in both canisters?
No, running carbon or Purigen in both is a waste of money. Only run chemical media in your secondary canister (the biological one) after the water has already been mechanically polished. This keeps the chemical media from getting coated in slime, making it last twice as long.
How often should I clean a dual canister system?
You should service your mechanical-heavy canister every month to rinse out trapped organic waste. The biological-heavy canister only needs to be opened and gently rinsed in tank water every three to four months, as long as your pre-filters are doing their job.
Can I mix different brands of canister filters in a dual setup?
Yes, you can mix and match whatever brands you like. In fact, running an Oase with an easy pre-filter alongside a classic, bulletproof Eheim is an incredibly popular pro setup. Just make sure their combined flow rates do not turn your tank into a washing machine.
Why is one of my canisters blowing out tiny micro-bubbles?
This is almost always caused by a microscopic leak on the intake side of the plumbing. Check the hose connections, the intake pipe joints, and the main head O-ring. The filter is sucking in air through a tiny gap and chopping it into bubbles with the impeller.
What is an airlock, and how do I fix it?
An airlock happens when a giant pocket of air gets trapped in the impeller chamber, preventing the pump from drawing water. To fix it, turn off the filter, close the output valve, open the priming cap or pump the manual primer, and tilt the canister until you hear the air escape up the line.
Can I daisy-chain two canisters together on a single set of hoses?
Do not do this. Splicing two filters into one set of pipes drastically reduces the flow rate of both pumps and makes priming them an absolute nightmare. Each canister must have its own dedicated intake and output plumbing to run safely and efficiently.
🛡️ │ WHY TRUST SKYTC GOLDFISH CARE CURATION?
At SKYTC, we hold aquatic ecosystem biology and biological parameter handling to a rigorous standard. We are not an automated affiliate review engine; we apply hands-on tests and serious filtration engineering workflows to ensure every recommendation guarantees the health and maximum lifespan of your fish with absolute safety.
✓ Engineering:
Structural experience backed by heavy-duty filtration math, continuous hydraulic turnover metrics, and robust mechanical support for large-scale coldwater systems.
✓ Expertise:
Focuse on preventative biological husbandry and premium nutrition. Thoroughly auditing biological media, sinking feeds, and elements that completely neutralize ammonia spikes.
✓ Authority:
Curation signed by real keepers running a balanced 100-gallon display ecosystem for over 8 years, pairing daily practical benchwork with direct wholesale breeder insights.
✓ Trust:
Product selections built on unfiltered transparency—exposing actual electrical draws, heat dissipation issues, and hidden costs before any Amazon recommendations.
📸 Our Journey in the Real World
From daily living room tank turn rates to macro-scale breeding setups.

🏠 The 100G Lab
Where we torture test every hardware option, pellet line, and filter layout live.

🏃♀️ Grit & Eye
Marathon endurance meets the precise, millimeter structural focus of a seamstress.
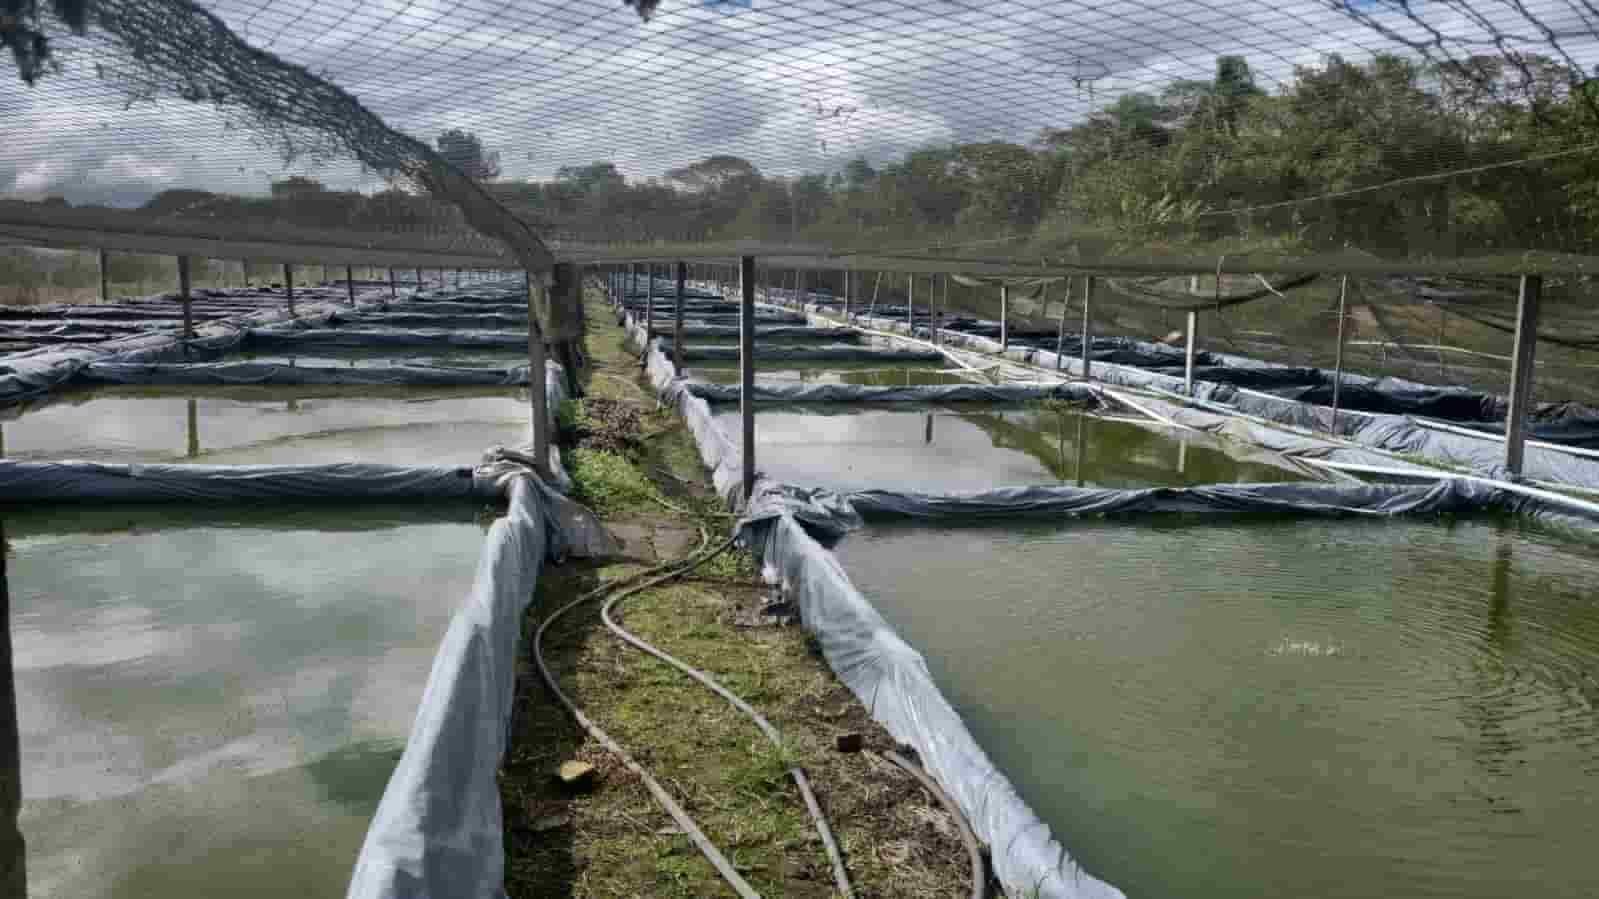
🐳 Monster Vats
Analyzing massive continuous turnovers inside large open-air mud farm vats.
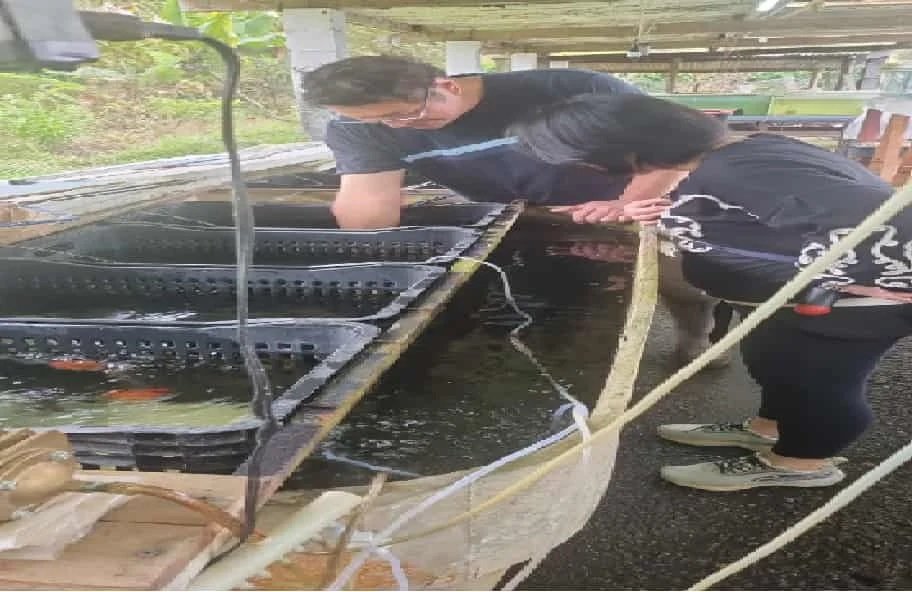
🤝 True Alliances
Working hand-in-hand with regional facility operations to target elite fancy bloodlines.
Read also: Fluval FX6 Review for Large Aquariums
> A deeply technical piece of content that perfectly complements this post — absolutely worth the read.