
Staring at that massive, humming canister filter under your tank can feel incredibly intimidating, especially when you realize it is time for maintenance. If you are anxious about water spilling everywhere or accidentally killing off your beneficial bacteria, I completely understand your frustration. When I first started keeping fancy goldfish years ago, the sheer size of the filtration system terrified me, but learning how to clean a large canister filter is actually a straightforward task once you break down the mechanics.
Maintaining a clean canister filter is your absolute insurance policy against catastrophic water parameter swings, giving you total peace of mind and saving you from costly livestock losses. You do not need to be a mechanical genius to handle this chore; you just need a orderly, systematic plan.
As a professional seamstress, I understand the importance of delicate care—one wrong tug and a beautiful piece of fabric is ruined. The exact same rule applies to the delicate biological colonies residing in your filter. During my eight years of maintaining a large 100-gallon (400-liter) aquarium filled with messy fancy goldfish, I have learned that biological media must be treated like fine silk: rinsed gently, never scrubbed, and kept away from harsh tap water chemicals. I also run long-distance trails, which taught me that preparation and stamina are key when facing a big task. If you plan your steps, you will cross the finish line with a clean tank and zero stress.
Preparing for the Clean: Why You Must Know How to Clean a Large Canister Filter Properly
Knowing how to clean your filter correctly is the difference between a thriving aquarium and a biological disaster. If you wash your biological media under tap water, the chlorine will wipe out your beneficial bacteria instantly. This triggers a massive ammonia spike that can crash your nitrogen cycle and harm your fish overnight.
Your filter is not just a trash collector; it is a living biological engine. Inside, billions of beneficial nitrifying bacteria live on your ceramic rings and bio-balls. These micro-organisms consume toxic ammonia and nitrites, converting them into nitrates.
When you clean your filter, your goal is to remove physical sludge without disrupting these delicate bacterial colonies. Think of it like washing an expensive hand-sewn quilt: you want to clean away the dirt while keeping the structure completely intact.
Tools of the Trade (No Fancy Gear Required)
You do not need to buy expensive, proprietary maintenance kits to clean your filter. In fact, simple, household items work much better and save you money. Here is exactly what you need to gather before you start:
- Two clean 5-gallon utility buckets (ensure they have never touched soap or household cleaners).
- A soft-bristled toothbrush or a dedicated small pipe brush for cleaning tiny crevices.
- Food-grade silicone lubricant to protect rubber seals.
- A large pile of dry towels to catch any accidental drips or minor spills.
Step-by-Step Execution: Dismantling and Rinsing
Now that you have your tools ready, let’s walk through the physical cleaning process. Go slow, keep your towels nearby, and remember that patience is your best tool.
Step 1: Disconnecting Power and Valves Safely
First, unplug the filter from the wall outlet to stop the motor completely. Never attempt to disconnect the hoses while the pump is running, as this will spray water all over your cabinet. Close the intake and output valves on your hose connector block to isolate the water.
Step 2: The Carrying Technique (Save Your Back!)
Carefully press the release lever on your quick-disconnect valve block to separate the hoses. Keep a small towel handy to catch the small splash of water that always escapes. Lift the canister by the base of the bucket—never lift it by the motor head clips or the top handle, as the plastic clips can give way under the heavy weight of the water.
Step 3: Cleaning the Media in Tank Water
Take the canister to your bathroom or utility sink and slowly unlatch the side clips. Lift the heavy motor head off and set it aside on a dry towel. Carefully pull out each media tray, keeping them in order so you know exactly how to restack them later.
Siphon some water from your tank into one of your clean 5-gallon buckets. Submerge your biological media trays in this bucket and gently shake them to dislodge loose fish waste. Do not scrub or expose this media to untreated tap water, as this will destroy the active biological colony.
Step 4: Cleaning the Impeller and Motor Head
Gently pull the magnetic impeller out of its chamber in the motor head. Use a soft toothbrush to scrub away any slimy buildup on the magnet and the blades. Insert a cotton swab or small pipe brush into the impeller well to clean the walls of the chamber.
This simple step restores lost flow rate and prevents motor burnout. Apply a thin layer of food-grade silicone lubricant to the rubber O-ring around the motor head to keep it soft and leak-proof.
The Reality of the Battlefield
In the world of aquarium marketing, manufacturers promise “leak-free operations,” “indestructible builds,” and “tool-free maintenance.” But anyone who has maintained a large tank knows that real-world use quickly exposes the flaws in these promises. Let us look at what actually happens to your gear over time.
The Self-Priming Button Failure
The self-priming button on modern canisters is designed to make restarts effortless by pulling water in with a simple pump mechanism. However, in real-life practice, these buttons frequently trap grit and debris inside the spring housing, causing them to leak or jam completely after a few months of heavy use.
Flaking Cosmetic Finishes
Those beautifully polished, chrome-look intake pipes look incredibly high-end when you first open the box. But the metallic finish inevitably flakes off after a few scrubby cleanings, exposing cheap, raw plastic underneath that looks terrible in your tank.
Degrading Quick-Disconnect Valves
Heavy-duty double tap quick-disconnect valves make maintenance incredibly convenient by blocking water flow instantly. However, the internal plastic ball valves degrade over time, meaning they will slowly drip dirty tank water onto your cabinet floor the second you disconnect them.
Common Mistakes That Can Ruin Your Tank
Avoiding common mistakes will save you from catastrophic tank crashes and ruined living room floors. Let us look at the most frequent errors hobbyists make:
- Using Tap Water on Bio-Media: This is the ultimate beginner mistake. Tap water contains chlorine and chloramines specifically designed to kill bacteria. Washing your ceramic rings under the tap will sterilize your filter and crash your tank.
- Over-Lubricating or Using the Wrong Lube: Using petroleum jelly (like Vaseline) is an absolute trap. Petroleum-based products degrade rubber O-rings, causing them to stretch, warp, and eventually fail, leading to massive leaks.
- Forcing the Motor Head Shut: If the motor head does not slide on easily, a tray is misaligned or packed too high. Forcing the latches shut will crack the plastic housing or pinch the O-ring, causing a flood.
In 30 Seconds
Turn off power and unplug everything.
Close the valves to prevent siphon floods.
Carry the heavy canister by the base—never by the clips.
Rinse sponges and bio-media only in tank water.
Clean the impeller and its muddy chamber with a brush.
Lubricate the main O-ring with silicone grease.
Reassemble, snap the clips shut gently, and prime.
No-nonsense verdict: Take your time with the O-ring and never let tap water touch your biological media, or you’ll pay for it with dead fish and wet carpets.
Comparing Large Canister Filter Designs
Let’s look at the different large canister designs on the market to help you understand their maintenance profiles and potential issues.
| Filter Style | Media Capacity | Maintenance Difficulty | Durability Weakness |
|---|---|---|---|
| Classic Tray-Style | High | Moderate | Tray handles snap easily under heavy loads. |
| Bottom-Drain Beast | Very High | Low | Drain valve seals can dry out and leak. |
| Basket-Less Cylinder | Maximum | High | Messy to unpack; high risk of water bypass. |
Let us look closely at how these different designs perform under pressure:
- Classic Tray-Style
- The Good Side: It leaves the water crystal clear like showroom glass and drops tank ammonia to absolute zero.
- The Negative Point: The motor head is heavy, and if you open it clumsily during cleaning, you can easily crack the plastic clips and flood your living room floor.
- Bottom-Drain Beast
- The Good Side: It allows you to drain heavy sludge directly from the bottom without opening the canister head.
- The Negative Point: The heavy drain valve can easily become jammed with gravel, leading to slow, unnoticeable leaks under your cabinet.
- Basket-Less Cylinder
- The Good Side: It maximizes internal volume, giving you the absolute highest capacity for biological media.
- The Negative Point: Unpacking it is an absolute nightmare, as loose media can easily fall into the intake tube, completely blocking your water flow.
Essential Troubleshooting Checklist
- Always review the rules on how to clean a large canister filter before unplugging anything. Insider Note: Seriously, write it down or keep this page open; forgetting one valve switch will turn your living room into an indoor pool.
- Unplug your aquarium heater before draining the water. Insider Note: Left exposed to the air while still hot, that glass heater will shatter in seconds.
- Use a dedicated towel under the canister base during disconnection. Insider Note: I don’t care how “leak-proof” the brand claims to be, a slow drip always escapes the quick-release block.
- Siphon tank water into a bucket before touching the filter. Insider Note: Do this first so you have a reservoir of safe water ready for rinsing your media.
- Examine the impeller shaft carefully during cleaning. Insider Note: Ceramic shafts are as fragile as dry pasta; bend it even slightly, and it snaps in two.
- Clean the impeller magnetic well with a cotton swab. Insider Note: Gunk builds up inside that dark hole, slowing your flow rate by up to 40% even if the pads are clean.
- Inspect the main head O-ring for pinching or dry cracks. Insider Note: If it looks dry, dry-rot is setting in. Replace it immediately rather than waiting for a midnight flood.
- Apply food-grade silicone lubricant to all rubber seals. Insider Note: Never use petroleum jelly; it eats through rubber seals over time.
- Keep your biological media submerged during the entire process. Insider Note: Beneficial bacteria start dying off within minutes of being dry and exposed to air.
- Don’t overstuff the media trays. Insider Note: If you have to force the motor head down, you’ve packed it too tight. This causes water bypass and motor strain.
- Shake the canister gently after restarting to purge air. Insider Note: This releases trapped air bubbles that cause that annoying micro-bubble hiss.
- Monitor the filter for at least thirty minutes after turning it back on. Insider Note: Most leaks don’t show up in the first five minutes; they start as a slow, sneaky drip after pressure builds up.
👇 Looking for more performance cheats? Check out our field-tested tactical blueprints:
The Goldfish Ecosystem Blueprint
Complete your advanced technical training loop by exploring our core evergreen resources.
How to Feed Goldfish for Maximum Lifespan
A deep breakdown of digestive tract mechanics, bloating prevention, and premium sinking diets.
How to Maintain a 100 Gallon Goldfish Tank
Large-scale system parameters. Deep sand bed mechanics, nitrogen cycling, and bioload management.
Ultimate Guide to Goldfish Tank Filtration
Heavy-duty hardware configurations. Optimizing parallel canisters, bio-media setups, and automation.
Frequently Asked Questions
Can I just wash my biological media under the kitchen tap?
No. Absolutely not. The chlorine and chloramines in tap water are designed to kill bacteria. Doing this will sterilize your filter, wipe out your beneficial biological cycle, and likely kill your fish. Use siphoned tank water only.
How often do I actually need to clean a giant canister?
Stop cleaning it every week! You are disrupting the biology. For a properly stocked tank, once every two to three months is plenty. If your flow rate drops significantly before then, you either have an overstocked tank or you aren’t using enough coarse pre-filtration sponges.
My canister is making a horrible rattling noise after cleaning. What did I break?
You probably have trapped air inside, or you broke the ceramic impeller shaft. Tilt the canister gently from side to side to purge the air. If the rattling continues, unplug it, open the motor head, and inspect that fragile ceramic shaft.
Should I replace all my sponge pads every time I clean the filter?
No, that is a marketing gimmick to make you buy more pads. Wash and reuse your coarse and medium sponges until they literally fall apart in your hands. Only the fine poly-fil pads need to be replaced regularly because they clog up too tightly to wash properly.
Is petroleum jelly safe for lubricating the rubber O-rings?
No, do not use it! Petroleum jelly breaks down rubber and silicone over time, causing your O-ring to warp and stretch. Once it stretches, it will leak. Spend a few dollars on food-grade silicone lubricant; it is safe and lasts much longer.
Why is my flow rate still terrible even after cleaning everything?
You probably forgot to clean the flexible hoses. Over time, a thick layer of brown algae and slime builds up inside the ribbed hoses, restricting water flow by more than 50%. Run a flexible double-ended hose brush through them to clear the blockage.
Do I really need to clean the motor head itself?
You don’t need to wash the electronics, obviously, but you must clean the impeller chamber. That magnetic well accumulates slime and grit. If you ignore it, the impeller will struggle to spin, heating up the motor and eventually burning it out.
What is the fastest way to prime a large canister without sucking on the tube?
Fill the canister bucket about three-quarters full of dechlorinated water before you put the motor head on. Once connected, open the intake valve first, wait for the water to gravity-fill the remaining space, and then open the output valve before plugging it in. No mouth-siphoning required.
🛡️ │ WHY TRUST SKYTC GOLDFISH CARE CURATION?
At SKYTC, we hold aquatic ecosystem biology and biological parameter handling to a rigorous standard. We are not an automated affiliate review engine; we apply hands-on tests and serious filtration engineering workflows to ensure every recommendation guarantees the health and maximum lifespan of your fish with absolute safety.
✓ Engineering:
Structural experience backed by heavy-duty filtration math, continuous hydraulic turnover metrics, and robust mechanical support for large-scale coldwater systems.
✓ Expertise:
Focuse on preventative biological husbandry and premium nutrition. Thoroughly auditing biological media, sinking feeds, and elements that completely neutralize ammonia spikes.
✓ Authority:
Curation signed by real keepers running a balanced 100-gallon display ecosystem for over 8 years, pairing daily practical benchwork with direct wholesale breeder insights.
✓ Trust:
Product selections built on unfiltered transparency—exposing actual electrical draws, heat dissipation issues, and hidden costs before any Amazon recommendations.
📸 Our Journey in the Real World
From daily living room tank turn rates to macro-scale breeding setups.

🏠 The 100G Lab
Where we torture test every hardware option, pellet line, and filter layout live.

🏃♀️ Grit & Eye
Marathon endurance meets the precise, millimeter structural focus of a seamstress.
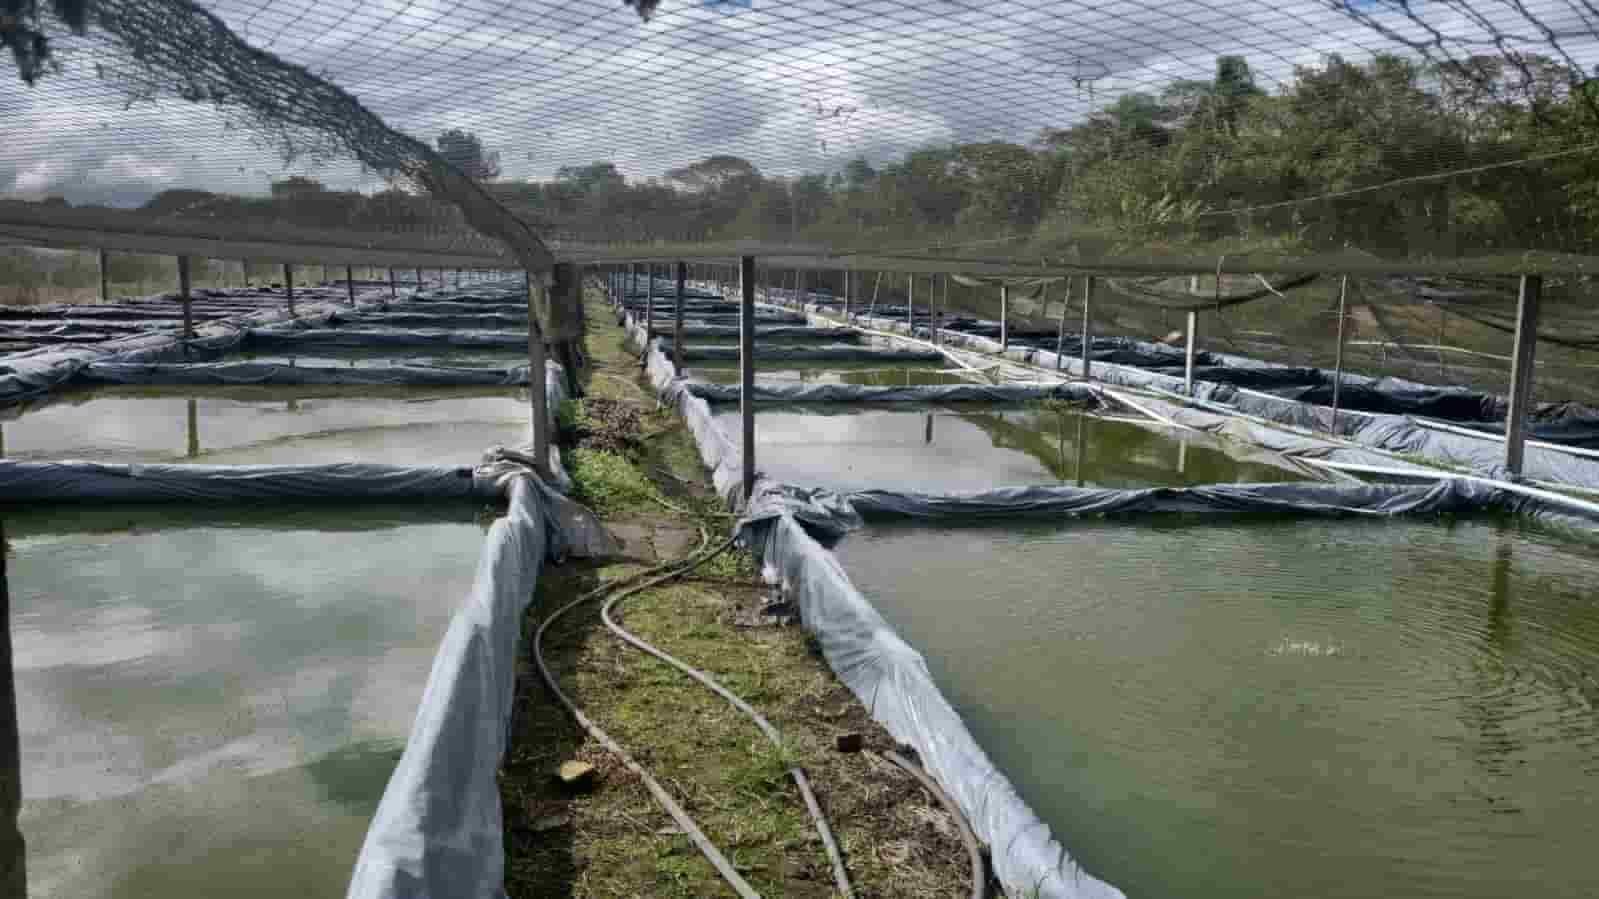
🐳 Monster Vats
Analyzing massive continuous turnovers inside large open-air mud farm vats.
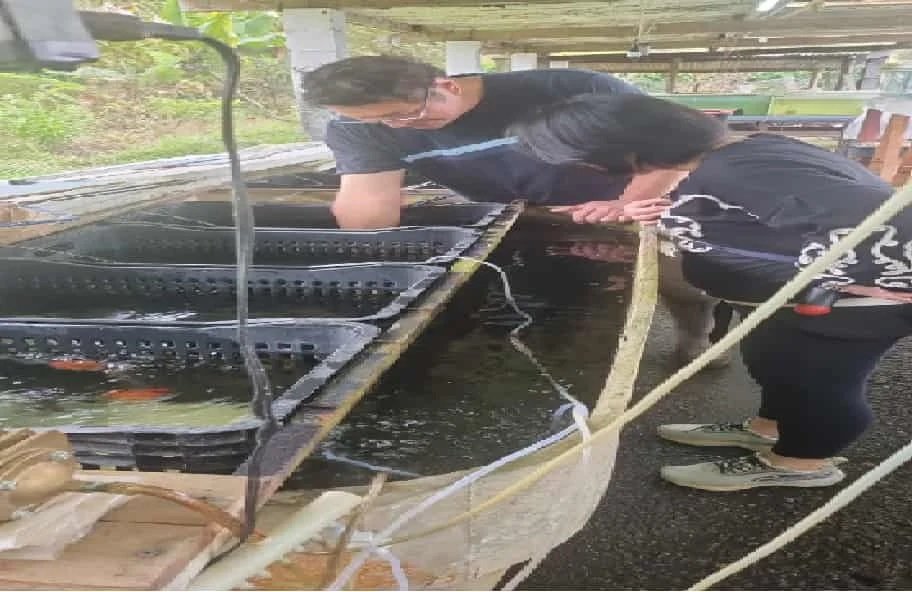
🤝 True Alliances
Working hand-in-hand with regional facility operations to target elite fancy bloodlines.
Read also: Canister Filter GPH Rules for Goldfish
A deeply technical piece of content that perfectly complements this post — absolutely worth the read.