
Waking up in the middle of the night to the squelch of soaked carpet is every aquarist’s worst nightmare. If you run a pressurized external filter, mastering **preventing canister filter leaks tech** is not just an optional skill—it is your only line of defense against catastrophic living room flooding and losing your beloved wet pets.
Look, as an 8-year goldfish hobbyist keeping a massive 100-gallon (400-liter) setup, I know how much water these beasts hold. Goldfish are filthy, heavy waste-producers, meaning my canister filters run hard 24/7. In my day job as a professional seamstress, I deal with tension, seams, and seals every day. If a thread is loose, the whole garment uncoils under pressure. A canister filter is under constant water pressure, and a single worn-out O-ring or twisted plastic clip acts exactly like a loose seam, bursting wide open when you least expect it.
I also spend my spare time training as a long-distance runner. Let me tell you, running a full marathon is a breeze compared to the sheer exhaustion and panic of frantically mopping up fifty gallons of dirty aquarium water at three in the morning. Let’s dive deep into the oily, gritty world of pressurized gaskets, lock clamps, and bypass valves so you can sleep like a baby every night.
In 30 Seconds:
1. Always coat every rubber O-ring with food-safe 100% silicone lubricant during monthly cleaning.
2. Never overtighten plastic lock nuts on your tubing; snug is enough, or they will crack.
3. Keep a physical drip loop on all power cables so water cannot run directly into your electrical outlets.
4. Place your canister inside a simple, cheap plastic storage tub inside your stand to catch minor drips.
5. Replace your main head gasket every single year without fail, regardless of how clean it looks.
Verdict: Cheap filters use cheap plastic threads that warp under pressure. Buy premium canisters, lube your gaskets, and inspect the hose clamps monthly.
The Physics of Gravity Siphons and Canister Stress
To truly protect your home, you have to understand the forces at play inside your cabinet. Unlike hang-on-back filters that sit safely on the rim of your aquarium, a canister filter sits below the tank. This placement creates a natural gravity-fed siphon. Water travels down the intake tube, enters the pressurized canister body, and is pumped back up against gravity.
The Good Side: This setup is incredibly efficient at moving water, allows for a massive volume of customizable filter media, and keeps your display tank looking clean and clutter-free.
The Negative Point: The entire system is constantly under heavy hydrostatic pressure. If any joint, gasket, or hose connection fails, gravity will not care about your feelings—it will continue to drain your aquarium until the water level drops below the intake pipe, emptying nearly your entire tank onto your floor.
The Core Principles of Preventing Canister Filter Leaks Tech
Keeping your floors dry is not about luck; it is about engineering-grade maintenance and using the right habits. Pressure will always find the weakest path, and you must ensure your gear does not offer one.
O-Ring Science and the Power of Lubrication
The main head gasket is the thick rubber ring that seals the motor head to the canister bucket. Over time, rubber dries out, loses its elasticity, and develops microscopic cracks. When you crush a dry O-ring under the heavy plastic clamps of your filter head, it can easily pinch or twist, creating an immediate leak pathway.
You must lubricate this gasket every single time you open the filter for cleaning. Use only 100% food-grade silicone lubricant. Never use petroleum jelly (like Vaseline), as petroleum products will physically degrade and dissolve rubber, leading to a catastrophic seal failure within weeks while simultaneously poisoning your water column.
Vinyl Tubing and the Danger of Plastic Nuts
Flexible vinyl hoses connect your filter to the tank. Over time, these hoses harden from exposure to water and organic slime, making them stiff and prone to slipping off the plastic intake and output barbs. Most modern filters use plastic collar nuts to clamp the tubing in place.
These plastic nuts are notorious for cracking if you tighten them with too much force. Snug them down gently with your fingers, but never use pliers or tools. If you feel the plastic flexing, stop. A cracked locking nut will slowly back off over time due to the subtle vibrations of the filter pump, eventually letting the hose pop off the barb completely.
The Hidden Trap of Quick-Disconnect Valves
Most premium canister systems feature a dual-valve block that allows you to shut off the water flow and disconnect the hoses without spilling a drop. These blocks are incredibly convenient, but they contain multiple internal seals and small plastic pathways that are highly vulnerable to debris.
If even a tiny piece of gravel, a stray snail shell, or a clump of stiff plant material gets caught in the valve gate when you close it, the seal will not shut completely. When you pull the block off the motor head, the pressurized siphon will keep pushing water past the obstruction, resulting in a steady, high-pressure leak inside your cabinet.
The Reality of the Battlefield
In the marketing brochures, manufacturers promise “unbreakable, leak-proof designs” that will run forever without maintenance. But out on the bench, real-life gear operates under harsh conditions of heat, water pressure, and organic buildup. Let’s look at the hard truth of how these promises hold up in practice.
Modern self-priming push buttons are technically praised for making startup completely effortless. However, these mechanical plungers utilize a thin internal rubber diaphragm that easily traps fine sand or debris, which quickly tears the rubber and creates a slow, hidden leak inside the motor head assembly.
Heavy-duty steel tension clamps are praised for locking the canister head down with immense force. However, the cheap plastic mounting points on the canister body often warp or crack under the constant, uneven tension of these metal clips, rendering the entire bucket body useless and causing the main seal to weep water.
Built-in UV sterilizers are praised for keeping tank water crystal clear and free of green algae. However, the internal quartz sleeves and plastic bulb housings degrade rapidly under constant UV radiation, becoming incredibly brittle and cracking open during routine bulb changes, which floods the electrical components of the filter.
Critical Equipment Analysis: The Good and the Bad
When you are shopping for accessories or replacement parts, you will find endless options claiming to secure your plumbing. Let’s break down the most common tools you will encounter with a completely unfiltered, honest critique of each.
Metal Hose Worm Clamps: The Good Side: These stainless steel clamps squeeze vinyl tubing onto plastic barbs with an iron-clad grip that will never slide off. The Negative Point: They have sharp metal edges that easily slice through soft vinyl tubing if overtightened, and if you use them on cheap, thin plastic pipes, they will easily crush and shatter the pipe itself.
Under-Cabinet Smart Water Alarms: The Good Side: These small sensors sound a deafening, high-pitched siren and send alerts to your phone the second they detect a single drop of water on your cabinet floor. The Negative Point: Their batteries die silently without any warning indicator, and the metal sensor pins quickly corrode in humid cabinet environments, which can stop them from working entirely during a real emergency.
Plastic Hose Barbs and Suction Cups: The Good Side: They keep your intake and output pipes securely positioned against the tank glass so they do not flop around. The Negative Point: The cheap rubber suction cups turn stiff and lose their grip after a few months of immersion, allowing your return pipe to pop out of the tank and spray water all over your drywall.
Comparative Table: Leak Risks Across Filter Styles
| Filter Type | Main Connection Risk | Gasket Lifespan | Mobile Verdict |
|---|---|---|---|
| Classic Double-Clamp | Hose slip at the barbs | 12 to 18 Months | Simple but needs metal clamps |
| Multi-Stage Modular | Cracked plastic lock nuts | 12 Months | Good performance, fragile nuts |
| Smart/Electronic Canisters | Bypass valve degradation | Varies by model | Highly reliable but expensive |
| Budget Knock-Offs | Warped bucket clips | 6 Months or less | Absolute hazard; buy with caution |
Hypothetical Error Scenario: The Over-Tightened Disaster
Imagine this common scenario: You have just finished a deep clean of your filter. You want to make absolutely sure that your hoses do not leak, so you grab a pair of heavy-duty pliers from your toolbox. You clamp onto the plastic collar nuts of the hose connections and twist them with all your strength until they won’t budge.
Satisfied that everything is secure, you plug the filter back in and go to bed. Around two in the morning, the constant micro-vibrations of the pump cause a hairline fracture in the over-stressed plastic nut to expand. The plastic snaps with a quiet “pop.” Without the nut holding it back, the water pressure slowly pushes the vinyl tube off the intake barb. By the time you wake up at six, forty gallons of your aquarium water have pumped directly into your floorboards. This is why hand-tightening is a strict rule in the aquarium trade.
Troubleshooting Checklist: Your Leak-Proof Protocol
- Preventing canister filter leaks tech starts with inspecting and replacing your main canister head gasket every twelve months without exception. (Insider note: If the rubber ring feels stiff, flattened out, or doesn’t bounce back when squeezed, it is already dead. Throw it away and install a fresh one.)
- Lubricate every single O-ring with 100% pure food-safe silicone grease during every maintenance cycle. (Insider note: A dry gasket will pinch, stretch, and tear when you clamp the motor head down, creating instant micro-leaks.)
- Never use pliers, wrenches, or heavy hand tools to tighten plastic lock nuts or valve connections. (Insider note: Snug is safe. The moment you use metal tools on soft plastic threads, you are guaranteeing a hairline crack that will fail under pressure.)
- Cut off the top half-inch of your vinyl hoses every time you reinstall them onto plastic barbs. (Insider note: Hoses stretch out and lose their grip over time. Freshly cut ends fit tight and seal perfectly every single time.)
- Position your canister filter inside a shallow plastic storage bin at the bottom of your aquarium stand. (Insider note: This simple hack won’t stop a major burst, but it will easily catch minor drips and give your leak alarm time to trigger.)
- Ensure your power cords have a deep, physical drip loop hanging below the level of the electrical outlet. (Insider note: Water loves to travel down wires. A proper loop forces water to drip onto the cabinet floor instead of running into your outlet and causing a fire.)
- Test your smart water leak alarms weekly by touching a damp paper towel to the sensor pins. (Insider note: Batteries fail silently in dark, humid cabinets. Never trust your floors to a sensor you haven’t physically tested recently.)
- Check the quick-disconnect valves for trapped gravel, snail shells, or organic debris before re-clamping. (Insider note: A tiny grain of sand is enough to keep a ball valve slightly open, leading to slow, silent weeping water.)
- Install stainless steel hose clamps over your vinyl tubing even if the filter uses plastic lock nuts. (Insider note: This is the ultimate backup system. A metal clamp acts as double protection if the cheap plastic nut cracks or strips out.)
- Run the filter for at least thirty minutes after a clean while sitting right in front of it to watch for weeping. (Insider note: Most leaks don’t burst instantly; they start as tiny, slow drips that appear after the system fully pressurizes.)
👇 Looking for more performance cheats? Check out our field-tested tactical blueprints:
The Goldfish Ecosystem Blueprint
Complete your advanced technical training loop by exploring our core evergreen resources.
How to Feed Goldfish for Maximum Lifespan
A deep breakdown of digestive tract mechanics, bloating prevention, and premium sinking diets.
How to Maintain a 100 Gallon Goldfish Tank
Large-scale system parameters. Deep sand bed mechanics, nitrogen cycling, and bioload management.
Ultimate Guide to Goldfish Tank Filtration
Heavy-duty hardware configurations. Optimizing parallel canisters, bio-media setups, and automation.
Tech Bench FAQ: Unfiltered Answers on Canister Safety
Why is my canister filter leaking from the head clamps right after cleaning?
Because you pinched the main O-ring or didn’t clean the seating groove. When you drop the motor head onto the bucket, any microscopic debris, sand, or a dry gasket will cause the ring to twist. Take the head back off, clean the plastic groove thoroughly with a toothbrush, lube the gasket with silicone grease, and reseat it flat.
Can I use Teflon tape on my plastic canister filter threads?
No. Keep that stuff away from your plastic filter fittings. Teflon tape adds thickness to the threads, which puts immense outward tension on female plastic fittings. When you screw them together with tape on the threads, you will easily crack the plastic housing, creating a massive, unfixable leak.
How often should I actually replace my canister filter hoses?
Every twenty-four months. Vinyl tubing gets incredibly stiff, brittle, and discolored over time due to plasticizer migration and organic buildup. Stiff tubing does not seal well on barbs and transfers heavy vibration to your connections, which can loosen them over time. Replace them with high-quality, food-grade silicone or vinyl hoses.
Is a slow drip of one drop per minute really a big deal?
Yes, it is a ticking time bomb. A slow drip indicates that a seal has failed or plastic has cracked. The constant water pressure and vibration of the pump will only make that crack wider or push that seal further out of place. It might be one drop a minute now, but it can easily turn into a full-scale flood while you are at work.
My self-priming button is stuck down and water is seeping out of it. How do I fix it?
Your internal priming diaphragm is torn or jammed with debris. This is a classic issue with push-button primers. You have to unplug the filter, take the motor head apart, and clean or replace the rubber plunger seal. If you can’t find a replacement part, you will have to seal the priming chamber permanently with aquarium-safe silicone and prime the filter manually from now on.
Do metal hose clamps rust inside the damp aquarium cabinet?
Yes, if you buy cheap zinc-plated clamps. You must use marine-grade 316 stainless steel worm-gear clamps. They cost a little more, but they will never rust or corrode in the humid environment under your tank. Check them once a month to make sure they are still tight and haven’t cut into the hose.
What is the safest canister filter brand that never leaks?
No brand is completely leak-proof because they all rely on rubber gaskets and plastic joints that require human maintenance. Premium brands like Eheim or Fluval have much better quality control and thicker plastics than cheap knock-offs, but if you don’t lube your O-rings and replace your gaskets, even the most expensive filter on earth will eventually flood your house.
Can I use a silicone sealant to permanently glue a leaking joint on my filter?
Only as a temporary emergency fix. Aquarium silicone does not bond well to the smooth, rigid plastics (like ABS or polycarbonate) used to make canister filters. Under pressure, the silicone will eventually peel away from the plastic, leading to a sudden and massive failure. Replace the cracked or worn part instead of trying to glue it.
🛡️ │ WHY TRUST SKYTC GOLDFISH CARE CURATION?
At SKYTC, we hold aquatic ecosystem biology and biological parameter handling to a rigorous standard. We are not an automated affiliate review engine; we apply hands-on tests and serious filtration engineering workflows to ensure every recommendation guarantees the health and maximum lifespan of your fish with absolute safety.
✓ Engineering:
Structural experience backed by heavy-duty filtration math, continuous hydraulic turnover metrics, and robust mechanical support for large-scale coldwater systems.
✓ Expertise:
Focuse on preventative biological husbandry and premium nutrition. Thoroughly auditing biological media, sinking feeds, and elements that completely neutralize ammonia spikes.
✓ Authority:
Curation signed by real keepers running a balanced 100-gallon display ecosystem for over 8 years, pairing daily practical benchwork with direct wholesale breeder insights.
✓ Trust:
Product selections built on unfiltered transparency—exposing actual electrical draws, heat dissipation issues, and hidden costs before any Amazon recommendations.
📸 Our Journey in the Real World
From daily living room tank turn rates to macro-scale breeding setups.

🏠 The 100G Lab
Where we torture test every hardware option, pellet line, and filter layout live.

🏃♀️ Grit & Eye
Marathon endurance meets the precise, millimeter structural focus of a seamstress.
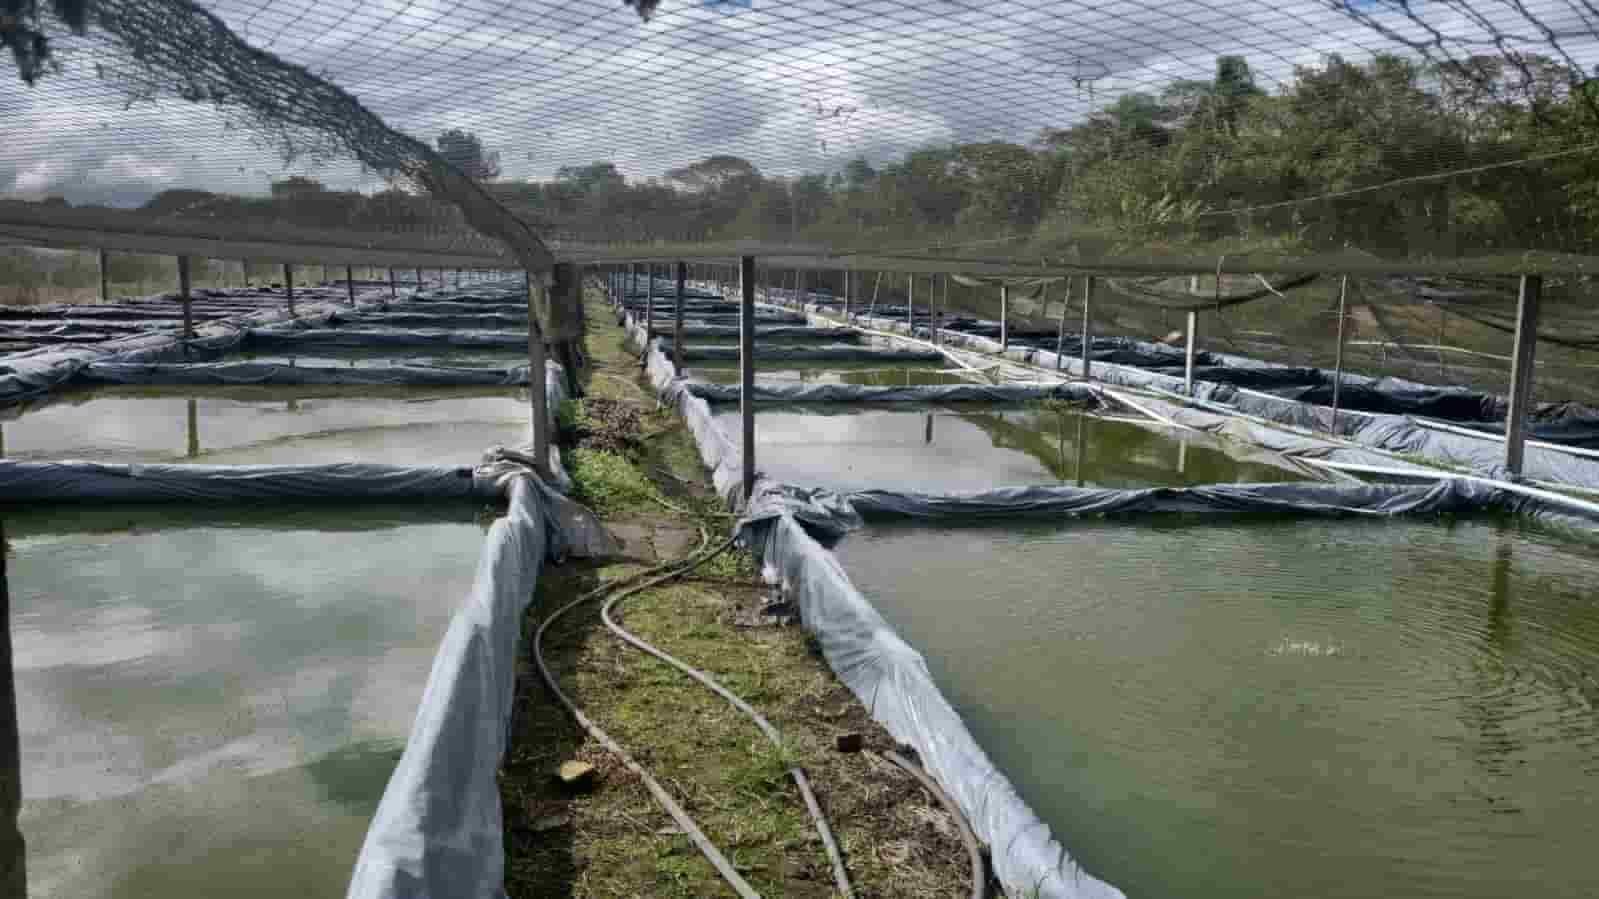
🐳 Monster Vats
Analyzing massive continuous turnovers inside large open-air mud farm vats.
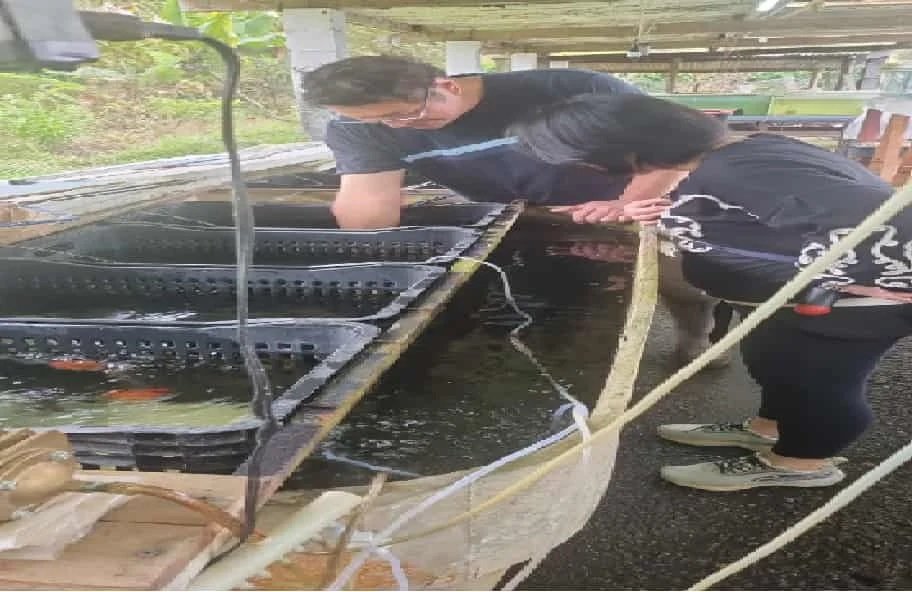
🤝 True Alliances
Working hand-in-hand with regional facility operations to target elite fancy bloodlines.
Read also: Quiet Canister Filters for Home Rooms
> A deeply technical piece of content that perfectly complements this post — absolutely worth the read.