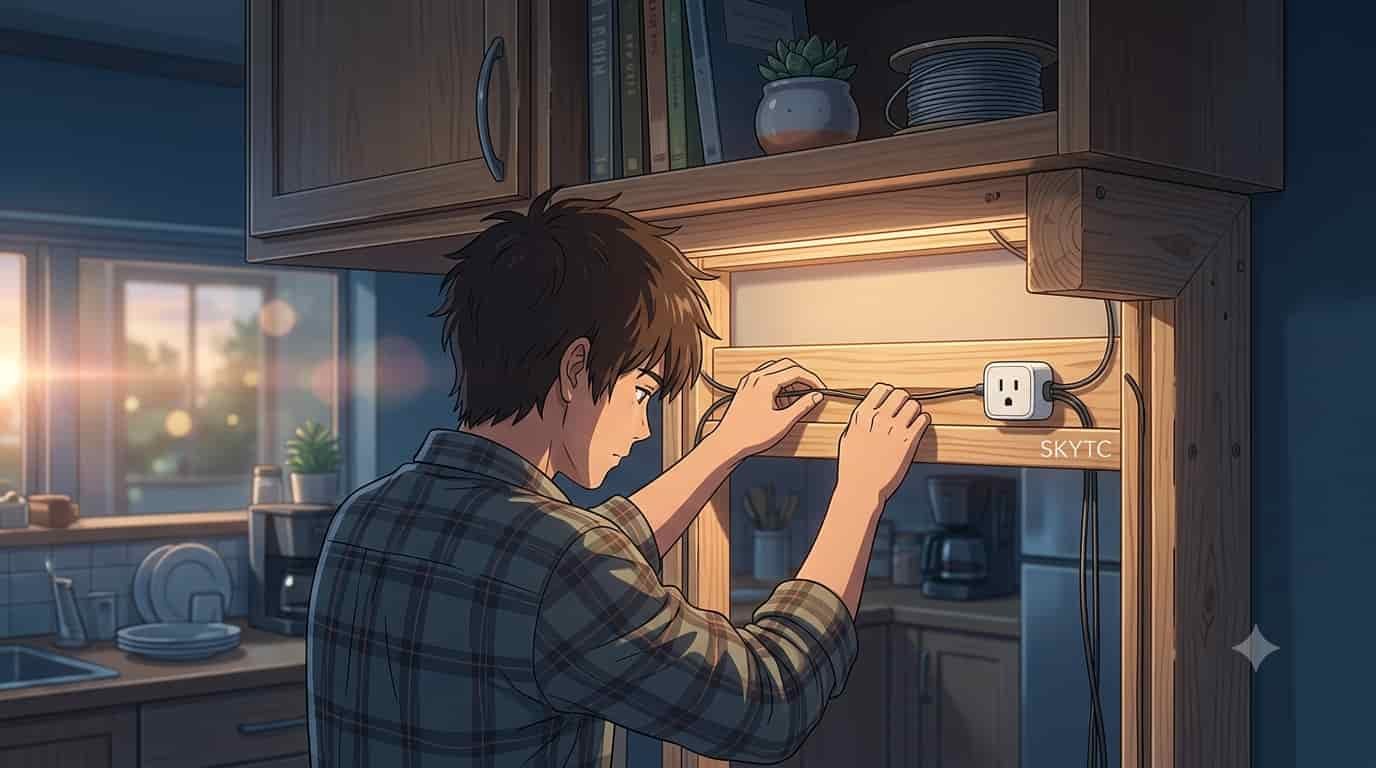
To route under cabinet smart plug wires in pine frames without destroying your custom cabinetry is a true test of patience. You spend good money on smart plugs to automate task lighting, coffee bars, or workspace LED strips, only to end up with a tangled, sagging nest of black cords hanging beneath soft pine cabinets.
Most online DIY influencers tell you to slap cheap double-sided plastic adhesive clips directly onto raw or stained pine. That is absolute amateur garbage. Within three weeks, ambient heat and humidity will cause that adhesive to fail, tearing the top layer of soft wood fibers right off your pine frame and leaving behind an ugly, sticky mess.
In my 25 years of structural carpentry and custom cabinetry—plus 2 years working in dental prosthetics where micro-tolerances mean everything—I have seen thousands of homeowners ruin soft pine millwork with bad drill bits, sloppy staple guns, and zero planning. At skytc, my team and I test home automation tech in real-world workshop environments to find solutions that actually hold up.
Follow this field guide, and you will learn how to route your wiring invisibly, protect soft pine from splitting, prevent thermal buildup from smart power bricks, and save your neck and shoulder joints from hours of painful overhead labor.
30-Second Summary: Tech Support Counter Talk
The Final Verdict: Stop driving steel staples into soft pine face frames. Soft white and yellow pine split along grain lines instantly under wedge pressure. To cleanly route under cabinet smart plug wires in pine frames, mill a shallow quarter-inch back-bevel channel along the inner lip of the bottom rail using a compact router with a depth stop, or secure a recessed J-channel using mechanical brass screws with pre-drilled pilot holes. Skip double-sided tape on unfinished pine; sap weeping and humidity will destroy the bond. Keep heavy smart plug transformers supported in secondary mounting saddles so weight does not strain delicate low-voltage wire leads.
Pine Frame Cable Routing Technical Matrix
| Routing Strategy | Pine Frame Structural Impact | Aesthetic Hiding Level | Thermal Heat Dissipation | Required Skill Level |
|---|---|---|---|---|
| Back-Rail Dado Channel | Low Impact | Maximum (100% Hidden) | Excellent | Advanced Carpenter |
| Recessed J-Channel Track | Zero Impact | High (90% Hidden) | Good | Intermediate |
| Screw-Anchored Saddles | Zero Impact | Moderate (75% Hidden) | Excellent | Beginner |
| Face-Frame Notching | High Risk (Splits Pine) | High (90% Hidden) | Poor | Advanced Carpenter |
| Stick-On Plastic Raceways | High Finish Damage Risk | Low (Bulky Surface) | Traps Heat | Novice |
Battlefield Assessment of Cable Hiding Methods
Every mounting system has physical limitations when working with soft, sap-rich pine lumber. Here is how common gear performs under real shop conditions.
Gear Setup 1: Soft Pine Cabinet Frames
The Good: Pine is easy to cut, lightweight, and takes wood stain or paint beautifully for home workspaces and kitchens.
The Bad: Soft white and yellow pine split easily along the grain when fasteners are driven without pilot holes, and raw pine absorbs humidity, causing seasonal swelling that pinches tight wires.
Gear Setup 2: Smart Plug Transformers and Wall Warts
The Good: Enables automated scheduling, energy monitoring, and hands-free voice control for under-cabinet lighting.
The Bad: Heavy transformer bricks generate constant ambient warmth and create leverage weight that pulls thin copper leads loose if unsupported underneath the frame.
Gear Setup 3: Foam Double-Sided Mounting Tape
The Good: Requires no power tools and installs in seconds without drilling holes in timber.
The Bad: Fails rapidly under smart plug heat and pulls raw wood fibers away from soft pine frames when removed, leaving permanent surface scars.
Route Under Cabinet Smart Plug Wires in Pine Frames: Timber Mechanics and Thermal Realities
Pine is a softwood with wide, porous growth rings and natural resin pockets. Unlike dense hardwoods like oak or maple, pine fibers compress easily and shear along grain lines under localized stress.
When you attempt to force thick smart plug wires or plastic clips onto pine frames without proper mechanical anchoring, the soft timber offers little pull-out resistance for shallow screws. Furthermore, driving a fast wire staple wedged into a pine face frame acts like an axe, splitting the rail down its entire length.
Smart plugs and LED transformers convert alternating current to direct current, generating continuous low-level heat. If you squeeze those wires tightly into an unventilated wooden groove without air clearance, heat builds up against the pine frame.
That localized heat causes natural pine sap to weep from resin pockets. The sap turns sticky, bonds with the cable jacket, and ruins the finish on custom cabinets. Maintaining proper air clearance around your wiring is non-negotiable for both timber health and electrical safety.
The Realities of the Battlefield
Modern smart home gear promises effortless plug-and-play installation, showing neat setups in idealized studio photos. But real kitchens and garage workstations are full of bowed cabinets, uneven wall studs, and tight clearances.
Pine cabinetry responds aggressively to changes in seasonal humidity. In damp summer months, pine rails swell; in dry winter months, they shrink and crack. Squeezing low-voltage cables tightly against pine without expansion gaps pinches wire insulation over time.
Working on your back underneath kitchen cabinets puts immense strain on your neck, shoulder sockets, and lumbar spine. When you spend two hours working overhead with power tools, physical exhaustion sets in quickly, leading to shaky hands and missed drill angles.
To maintain peak physical endurance and mental clarity during tedious carpentry work, I never rely on sugary snacks or energy drinks that crash your blood sugar. I fuel up with nutrient-dense real food—specifically rich cuts of beef or lamb cooked in their natural animal fats. That steady metabolic fuel keeps your posture strong, your hand precision dead-on, and your focus sharp when carving thin pine millwork.
Hypothetical Failure Scenario: The Staple Gun Disaster
Picture this common homeowner disaster: You buy a new smart plug setup and want to hide the long power cord underneath your pine wall cabinets. You grab a heavy-duty mechanical staple gun from the garage, hold the wire tight against the pine face frame rail, and pull the trigger.
The steel staple fires with heavy spring force. Because pine is soft, the staple penetrates too deeply, cutting straight through the outer PVC insulation and severing two copper strands. Simultaneously, the wedge force of the staple splits the soft pine face frame along a four-inch grain line.
Now you have an electrical short circuit, a ruined smart plug cord, and a cracked cabinet face frame that requires wood filler, sanding, and re-staining to fix. A five-minute job turned into a weekend wood repair nightmare.
👇 Looking for more performance cheats? Check out our field-tested tactical blueprints:
Essential DIY Troubleshooting Guides
How to Fix Smart Lock Jammed Wooden Door Jamb Error
Stop your deadbolt motor from straining when wooden frames shift with climate changes.
How to Hide Smart TV Wires Inside Wood Wall Panels
Learn clean woodworking methods to route, mask, and clean up complex home theater clutter.
How to Fix Smart Home Device Unresponsive Wi-Fi Bug
Fix network drops, device timeouts, and broken automation routines inside your home local system.
Actionable Execution Checklist
- Route under cabinet smart plug wires in pine frames cleanly.
*Pro-Tip: Always map out your wire path using low-tack painter’s tape on the underside of the cabinet frame before cutting channels or driving fasteners.* - Pre-drill every single pilot hole into soft pine frames.
*Pro-Tip: Use a brad-point drill bit sized one size smaller than your screw threads to prevent soft pine grain from splitting along growth rings.* - Mill a back-bevel channel using a compact palm router.
*Pro-Tip: Set your router depth to a maximum of one-quarter inch along the rear lip of the bottom rail to create a hidden wire lip without weakening the frame.* - Mount recessed plastic J-channels with small brass wood screws.
*Pro-Tip: J-channels allow you to drop in extra wires later without removing hardware, and brass screws grip soft pine without stripping.* - Avoid using petroleum-based adhesives directly on raw pine.
*Pro-Tip: If using adhesive mounts, seal the raw pine surface first with a thin coat of shellac to prevent pine sap from breaking down the glue bond.* - Support heavy smart plug wall-wart transformers separately.
*Pro-Tip: Anchor smart plugs using secondary mounting saddles so the heavy transformer weight does not pull on delicate terminal connections.* - Maintain a quarter-inch air gap around smart plug power bricks.
*Pro-Tip: Proper airflow prevents transformer heat from drawing out natural pine sap, protecting your wood finish from sticky resin weeping.* - Use nylon cable clamps instead of steel wire staples.
*Pro-Tip: Screw-in nylon saddles hold wires securely without pinching insulation or exerting split pressure on delicate softwood frames.* - Pass cables through cabinet dividers using rubber grommets.
*Pro-Tip: Drill clean pass-through holes with a sharp Forstner bit and insert rubber grommets to protect wire jackets from sharp pine edges.* - Label both ends of hidden low-voltage wire runs clearly.
*Pro-Tip: Use heat-shrink label tubing near smart plug connections so you can troubleshoot lighting zones without pulling down entire raceways.* - Test all smart plug automation routines before sealing channels.
*Pro-Tip: Run your smart plug under full electrical load for thirty minutes to ensure connections remain cool before snapping on final channel covers.*
Dynamic No-Nonsense FAQ
Can I use a standard staple gun to secure wires under pine cabinets?
No. Standard staple guns strike with uncontrolled force that easily splits soft pine wood grain and crushes thin wire jackets. Use screw-anchored nylon cable saddles with pre-drilled pilot holes instead.
How do I stop double-sided tape from falling off raw pine cabinets?
Double-sided tape fails on raw pine because natural wood dust and sap break the adhesive bond. You must sand the area smooth, wipe it clean with isopropyl alcohol, and seal the pine with shellac or lacquer before applying tape.
Will cutting a channel into my cabinet frame weaken the wood structure?
Not if you keep the channel shallow. Milling a quarter-inch groove along the rear lip of a thick pine rail leaves plenty of structural timber while creating a perfect hidden recess for thin smart plug wiring.
Why do smart plug transformers get hot under cabinets?
Smart plugs contain internal transformers and wireless communication chips that generate constant low-level heat. If mounted in enclosed spaces without airflow, that heat builds up, degrading electrical components and sap-staining soft pine.
What is the best drill bit for making pass-through holes in pine frames?
Use a sharp Forstner bit. Unlike spade bits, which tear and splinter soft pine exit holes, a Forstner bit cuts razor-clean edges through soft grain without splitting the surrounding wood face.
How do I hide bulky smart plug bricks under shallow pine cabinets?
Mount the smart plug horizontally along the inside rear corner of the cabinet bottom, or install a shallow false-bottom trim strip (light valance) to extend the visual drop of your face frame by one inch.
Should I run low-voltage and high-voltage smart plug wires in the same channel?
No. High-voltage power cords and low-voltage signal lines should be separated into distinct channels or spaced at least two inches apart to prevent electromagnetic interference and maintain electrical code safety.
Is it better to paint pine cabinet undersides before routing wires?
Yes. Painting or sealing pine frames seals in natural wood resins, protects the timber from kitchen humidity, and provides a smooth, stable surface for mounting mechanical cable tracks and saddles.


Real World Experience. Engineering Precision.
At SkyTC, technology is never just theoretical—it is driven by practical execution, structural integrity, and strict diagnostic standards. Founded by Valtersky, a tech speaker and seasoned professional, every single guide published here is backed by an authentic multidisciplinary background that bridges the gap between hardware structures and advanced software ecosystems.
Generational Craftsmanship
With 25 years of professional woodworking experience inherited through generations, he masterfully handles smart home mounting, wire routing, and physical hardware adjustments.
Medical Diagnostic Standards
An active career as a licensed X-ray technologist and dental prosthetics practitioner injects rigorous clinical precision, micro-detailed testing, and data integrity into tech evaluations.
Endurance Field Testing
As a competitive mountain ultramarathon runner, he takes every consumer wearable, smart sensor, and GPS watch out into extreme raw environments to test real-world durability boundaries.
✨ Read also: How to Run Ethernet Cables Behind Hardwood Moldings
A deeply technical piece of content that perfectly complements this post — absolutely worth the read.