
You build a gorgeous feature wall with oak or walnut accent slats to upgrade your home office, but then you plug in your smart automation switches, home theater hubs, or ambient lighting relays and suddenly have dangling black power cables ruining the entire aesthetic—learning how to hide smart switch power cords behind wood accent slats is the definitive craftsman fix that turns a messy DIY attempt into custom architectural joinery.
Most work-from-home pros, automation geeks, and tech enthusiasts try to hide their power lines using cheap plastic raceways on top of their slats or tape cords down with bargain-bin adhesive strips. Within two weeks, summer heat or room humidity rips those cheap adhesives off, leaving sticky residue on your raw wood and hanging live power cables right where you work.
I am Valtersky. I have 25 years of hands-on experience in structural carpentry and custom cabinetry, plus 2 years in dental prosthetics where microscopic precision tolerances were non-negotiable. Spending long hours seated at a desk or bench taught me that visual cable clutter destroys focus, and our team at skytc hands-on tests all this smart automation tech under real-world conditions.
Master these field-tested woodworking techniques to channel wire pathways directly into your acoustic or solid lumber slats, conceal low-voltage smart switch transformers, and maintain clean, zero-clearance accent walls that last decades.
30-Second Summary: Hide Smart Switch Power Cords Behind Wood Accent Slats
Tech Support Counter Talk Verdict
Cut through the lazy DIY influencer fluff. Never slap surface-mounted plastic raceways onto custom wooden wall slats. To conceal smart switch power lines properly, mill a dedicated rear dado channel along the back of an individual wood slat using a plunge router, or carve wire pass-through slots into the acoustic felt backing before mounting. Keep your channel depth under one-third of the slat thickness to prevent wood warping, vent any smart power transformer pockets to prevent heat buildup, and fuel your workshop session with clean red meat and natural fat for the physical stamina required to run clean router passes.
Hide Smart Switch Power Cords Behind Wood Accent Slats: The Master Craftsman Blueprint
Concealing power cords behind wood wall slats without creating uneven gaps or fire hazards requires an understanding of joinery physics and electrical safety. Wood accent walls typically consist of individual solid lumber strips mounted over acoustic felt backing or furring strips. If you crush a thick power cable between a wall stud and a wood slat, you create a ugly bump in your accent wall and risk pinching the internal wire copper leads.
The golden rule of custom wood routing is the One-Third Clearance Rule: never cut a rear wire groove deeper than one-third of the individual slat’s total thickness. For a standard three-quarter-inch solid hardwood slat, your router dado depth must not exceed one-quarter inch (6.35mm). This provides plenty of space to run low-voltage DC lines or thin USB power cables while leaving half an inch of solid wood grain intact to prevent slat warping.
During my two years in dental prosthetics, micro-milling taught me that precision fittings require exact tool geometry. Use a quarter-inch carbide up-cut spiral router bit spinning at high RPM on a router table or using a straight-edge clamped fence. Up-cut spiral bits eject wood chips out of the channel cleanly, leaving a flat-bottomed groove that lets power cables lie completely flat without pressure points.
Always distinguish between low-voltage DC wires and high-voltage AC house wiring. Low-voltage USB power cords, 12V LED drivers, and smart switch control lines can be safely recessed into rear wood channels. High-voltage 120V AC wiring must remain inside code-compliant metal or plastic electrical junction boxes behind the drywall; never bury bare high-voltage Romex wire directly inside raw wood channels.
Executing precision router passes after a long day working seated at a computer demands steady physical focus and cellular stamina. Fueling your body with dense red meat and natural fat supplies steady, long-burning lipid energy and iron, keeping your hands perfectly steady on the router base and preventing dangerous slips into fine wood grain.
| Routing Technique | Visual Cable Concealment | Structural Wall Integrity | Installation Labor | Major Drawback |
|---|---|---|---|---|
| Back-Milled Dado Slat Routing | Maximum (100% Invisible) | High (Controled depth) | Moderate | Requires routing slats before installation |
| Acoustic Felt Sub-Panel Channels | Maximum (100% Invisible) | Maximum | Low | Only works on felt-backed panel systems |
| Spacer-Block Raised Slat Tracks | High (Hidden behind gap) | High | Low | Creates a thicker wall profile gap |
| In-Wall Recessed Junction Conduit | Maximum (100% Invisible) | High | High | Requires cutting and patching drywall |
| Surface-Mounted Plastic Raceways | Poor (Visible plastic bump) | High | Very Low | Adhesive strips peel off raw wood |
The Battlefield Assessment: Cord Concealment Methods
Back-Milled Dado Slat Routing: The Good: Precision-mills flat-bottom grooves along the rear face of individual wood slats, allowing power cords to run invisibly while keeping slats dead-flush against the wall. The Bad: Requires pre-planning; you must route all wire pathways on a router table before installing the slats on the wall.
Acoustic Felt Sub-Panel Channels: The Good: Extremely fast installation when using pre-fabricated felt-backed slat panels; simply slit the rear polyester felt with a sharp utility knife to lay thin power lines behind the wood strips. The Bad: Limited channel depth; thick round power bricks will bulge through thin felt backings.
Spacer-Block Raised Slat Tracks: The Good: Mounts dark wood furring strips behind the accent slats, creating a three-quarter-inch hollow airspace for running multiple thick smart automation cables easily. The Bad: Pushes the entire accent wall forward into the room, requiring custom trim edges on exposed sides.
Surface-Mounted Plastic Cable Raceways: The Good: Cheap, zero-woodworking approach for fast setups. The Bad: Protrudes visually from the wood finish, ruins the natural aesthetic, and the cheap tape adhesive strips dry out and fail under ambient heat.
The Realities of the Battlefield
Smart home automation brands love advertising wireless, battery-operated switches and minimalist hubs that look effortless in promo photos. Modern smart home switches offer fantastic app automation and touch controls, BUT their external power adapters, thick USB cables, and wall-wart transformers require physical wire management that standard accent wall tutorials completely ignore.
Bargain-bin accessories and pre-laminated MDF slat panels present major durability traps. Low-grade veneer on cheap MDF slats chips and peels easily when passed over a router bit, and low-quality smart switch transformers generate high ambient heat that bakes raw wood if enclosed in unvented pockets.
Surviving real-world woodworking demands master-craftsman joinery, thermal air ventilation, and physical workshop discipline. Fueling yourself with nutrient-dense red meat and natural animal fats builds the physical stamina and mental focus required to craft custom wooden channels that keep your electronics cool and invisible for decades.
The Failure Scenario: How Amateurs Ruin Accent Walls
Picture a remote worker who installs a gorgeous solid-oak slat wall behind their desk setup. Wanting to add a smart automation switch and ambient lighting, they forget to plan wire pathways and mount all twenty wood slats tightly to the wall using construction adhesive and pneumatic brad nails.
Realizing the black power cord is dangling down the front of the raw oak, they try to force the cord into the tight half-inch gap between two mounted slats using a flathead screwdriver. The sharp screwdriver blade cuts into the cable insulation, and a brad nail hidden inside the slat pierces the live copper wire, causing a short circuit that trips the breaker.
To fix the short, they have to pry off three glued oak slats, tearing the drywall paper underneath and ruining two feet of custom hardwood trim. What should have been a pre-routed ten-minute task turns into a weekend of drywall repairs, wasted lumber, and ruined smart switch hardware.
👇 Looking for more performance cheats? Check out our field-tested tactical blueprints:
Essential DIY Troubleshooting Guides
How to Fix Smart Lock Jammed Wooden Door Jamb Error
Stop your deadbolt motor from straining when wooden frames shift with climate changes.
How to Hide Smart TV Wires Inside Wood Wall Panels
Learn clean woodworking methods to route, mask, and clean up complex home theater clutter.
How to Fix Smart Home Device Unresponsive Wi-Fi Bug
Fix network drops, device timeouts, and broken automation routines inside your home local system.
Practical Execution Field Checklist
Hide smart switch power cords behind wood accent slats using back dadoes.
Expert Tip: Router-milling a shallow channel on the rear of a slat keeps low-voltage power lines invisible without pushing the wood off the wall.
Limit rear dado channel depth to one-third of total slat thickness.
Expert Tip: Respecting wood grain integrity prevents the slat from cupping or snapping when secured with mounting screws or brad nails.
Fuel your workshop session with clean red meat and natural fats.
Expert Tip: Long-burning energy from animal fats keeps your hands steady on the router fence, ensuring clean, tear-out-free channels in hardwood.
Cut wire pass-through slits in acoustic felt backing before wall mounting.
Expert Tip: Slitting the felt layer with a utility knife allows you to route thin power lines behind the sound-absorbing backing effortlessly.
Use up-cut carbide spiral router bits for clean wood chip evacuation.
Expert Tip: Up-cut spiral bits pull shavings out of the groove automatically, leaving a smooth, burn-free bottom track for wire seating.
Vent mortised pockets housing smart switch power supply transformers.
Expert Tip: Drill small intake and exhaust relief holes in wooden transformer enclosures to prevent heat buildup and prolong electrical life.
Anchor low-voltage wires inside dado tracks using insulated nylon clips.
Expert Tip: Never use metal staples; nylon friction clips hold cords securely inside rear channels without cutting into wire insulation.
Ease sharp router channel edges with a hand sanding block before installation.
Expert Tip: Softening sharp wood channel corners prevents raw timber edges from rubbing through wire jackets over years of subtle wall vibration.
Separate low-voltage DC switch cords from high-voltage AC house wiring.
Expert Tip: High-voltage AC lines belong inside code-compliant electrical boxes; keep rear slat channels restricted strictly to low-voltage DC cables.
Discard cheap stick-on plastic raceways and low-grade tape strips.
Expert Tip: Tape adhesives dry out and fail under heat; precision-milled wood channels are the only permanent, professional cord solution.
Test smart switch power cord continuity before final wall installation.
Expert Tip: Verifying electrical current and app connectivity before nailing down pre-routed slats prevents tearing down finished woodwork to fix bad cords.
Dynamic No-Nonsense FAQ
Can I route power cord channels into pre-made MDF acoustic slat panels?
Yes, but use a high-RPM router with a sharp carbide bit. MDF tears out and creates fine dust easily. Wear a proper mask and cut shallow channels through the rear felt or MDF backing slowly.
Is it safe to run smart switch power cords behind wooden wall slats?
It is completely safe for low-voltage DC power cords (like USB, 12V, or 24V lines). High-voltage 120V AC wiring must remain inside code-compliant junction boxes behind drywall and cannot be buried in raw wood channels.
How wide should I cut the rear dado channel for smart switch cords?
Cut the channel 1/16th of an inch wider than your thickest cable diameter. A standard 3/8-inch wide channel accommodates most smart switch USB and DC power cables without pinching.
What tool is best for cutting wire grooves in individual wood slats?
A router table equipped with a 1/4-inch or 3/8-inch up-cut carbide spiral bit. It provides perfect depth control, straight fence alignment, and clean chip removal in a single pass.
Will cutting a wire groove on the back of a wood slat cause it to warp?
Not if you follow the One-Third Rule. As long as your channel depth does not exceed one-third of the slat’s thickness, the remaining wood grain retains full structural stability.
How do I hide the bulky power transformer block for my smart switch?
Mortise a hollow junction pocket into a thicker bottom baseboard or behind a wider accent slat, and drill top and bottom vent holes to let transformer heat escape naturally via convection.
Can I use hot glue to hold power cords inside the routed wood channels?
Avoid hot glue. It degrades under ambient heat and creates messy lumps that stop slats from sitting flush. Secure wires using flat nylon strain-relief clips held by small wood screws.
What should I do if a brad nail pierces a cord during slat installation?
Disconnect the power supply immediately. Do not attempt to tape a pierced wire. Remove the damaged cable section, replace the wire harness, and mark your wire channels clearly on the front using painter’s tape before nailing.
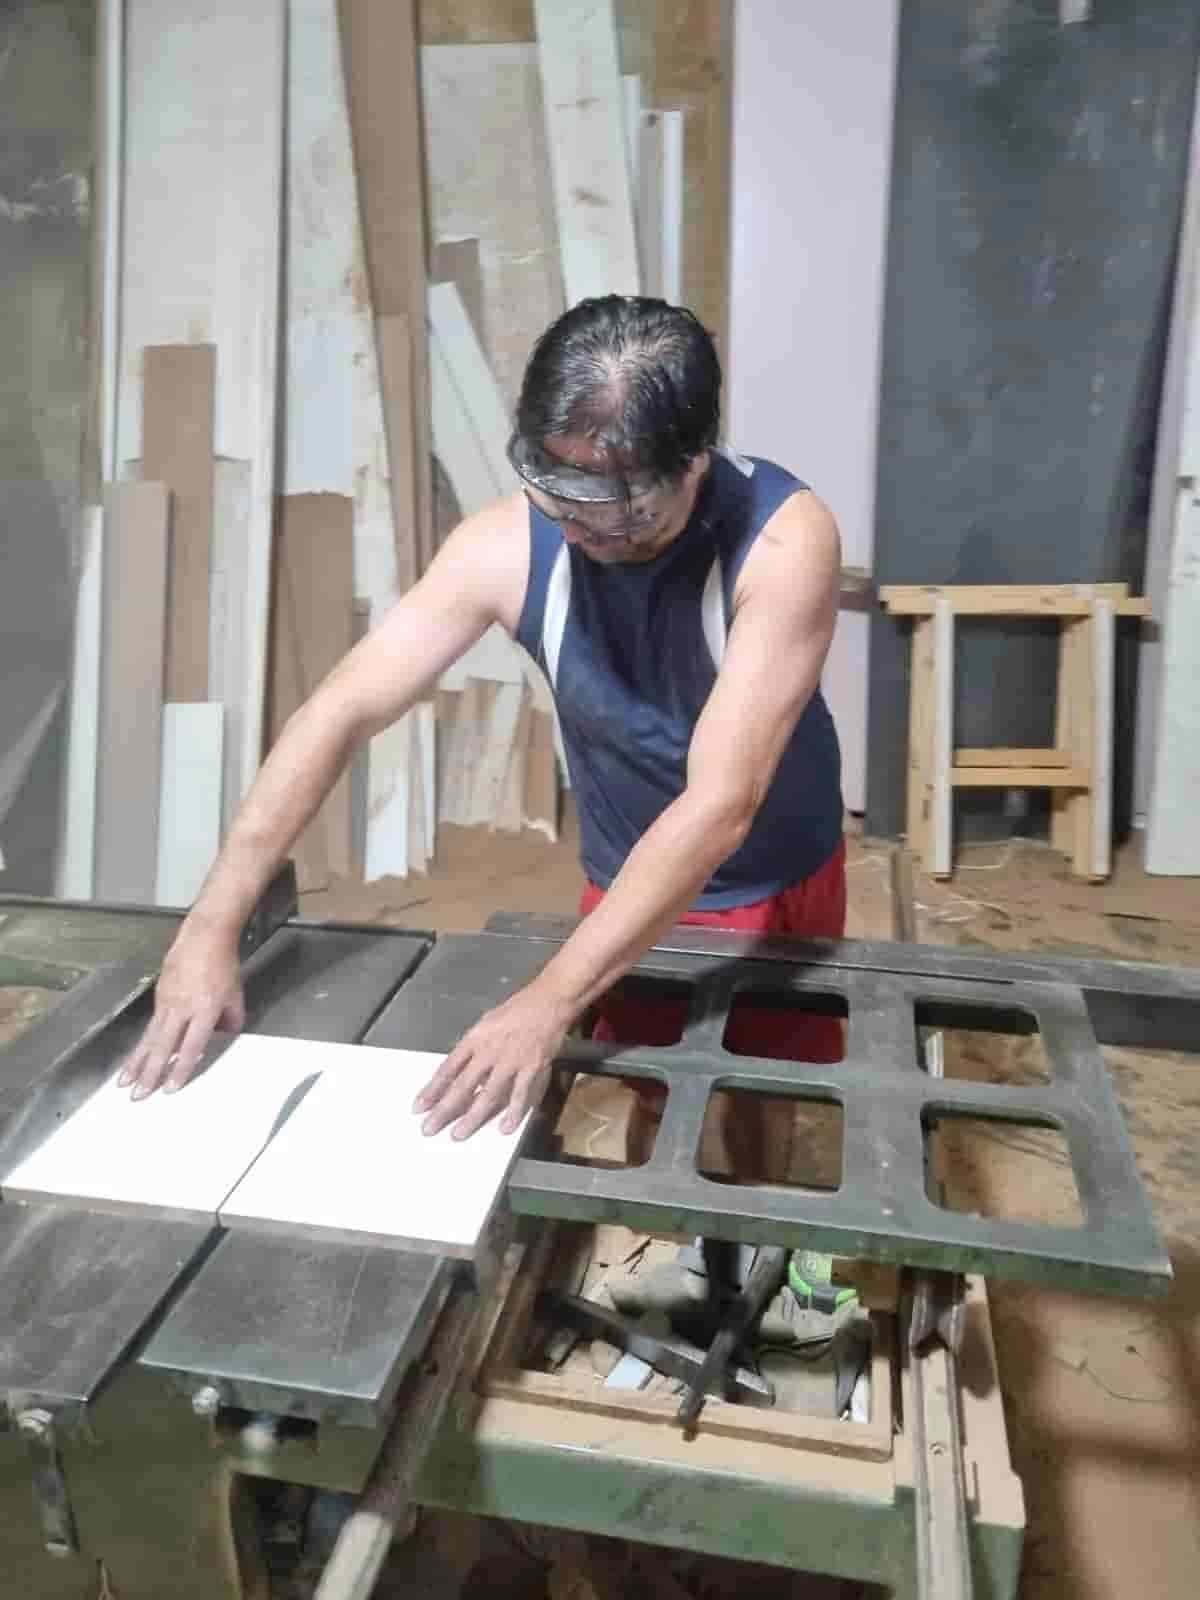
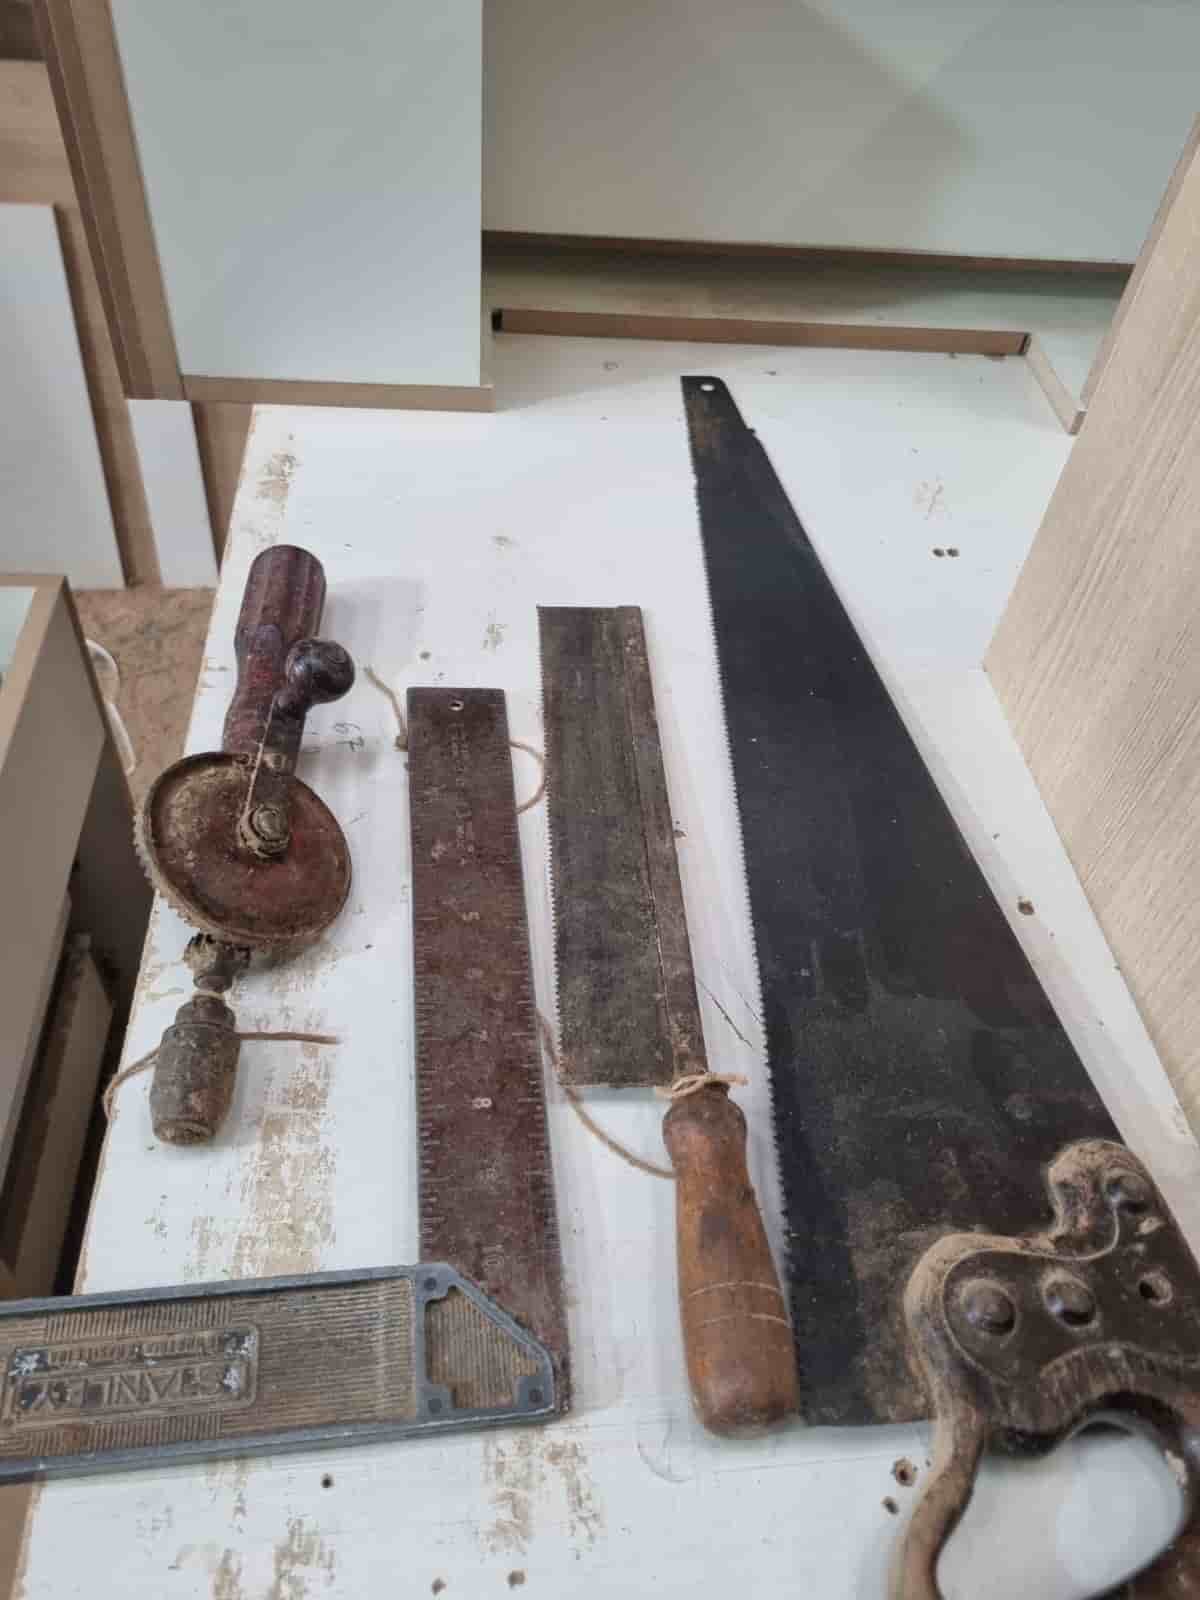
Real World Experience. Engineering Precision.
At SkyTC, technology is never just theoretical—it is driven by practical execution, structural integrity, and strict diagnostic standards. Founded by Valtersky, a tech speaker and seasoned professional, every single guide published here is backed by an authentic multidisciplinary background that bridges the gap between hardware structures and advanced software ecosystems.
Generational Craftsmanship
With 25 years of professional woodworking experience inherited through generations, he masterfully handles smart home mounting, wire routing, and physical hardware adjustments.
Medical Diagnostic Standards
An active career as a licensed X-ray technologist and dental prosthetics practitioner injects rigorous clinical precision, micro-detailed testing, and data integrity into tech evaluations.
Endurance Field Testing
As a competitive mountain ultramarathon runner, he takes every consumer wearable, smart sensor, and GPS watch out into extreme raw environments to test real-world durability boundaries.
✨ Read also: Route RGB LED Controller Wires Inside Headboards
> A deeply technical piece of content that perfectly complements this post — absolutely worth the read.