
Few things in the aquarium keeping world match the absolute sheer panic of plugging in your filter after a routine water change, only to hear a horrific, screeching dry-grind sound from the impeller motor. You sit there aggressively slamming the plastic built-in primer button for ten minutes straight, getting nothing but tiny bubbles, sore palms, and zero water flow. Learning how to prime a canister filter fast is the single most critical maintenance skill you can master to save your hardware, protect your water column, and keep your sanity intact.
When you are managing heavy bioload setups—like my massive 100-gallon (400-liter) goldfish display tank—you cannot afford to mess around with stagnant water or trapped air locks. Goldfish produce an incredible amount of waste, and leaving a filter off while fighting a stubborn siphon is a quick recipe for crashed beneficial bacteria. Between my daily long-distance running schedule and balancing precision seamstress work, I do not have time to sit on the living room floor fighting a dry pump.
Mastering quick priming techniques gives you immediate peace of mind, transforms a sweaty one-hour maintenance nightmare into a crisp five-minute routine, and prevents costly impeller housing melt-downs.
In 30 Seconds
Look, if you are standing in front of your aquarium right now with a dry filter and an overheating motor, here is the quick repair-counter truth: canister filters do not pull water; gravity pushes water into them.
To kickstart the siphon instantly, make sure your canister is completely empty of water while your intake hose remains submerged in the tank. Keep the output pipe out of the tank water, positioned lower than the aquarium waterline.
Open the quick-disconnect valves, let gravity naturally slam a torrent of water down the intake hose into the main bucket, and wait until you hear the air completely purge out of the spray bar before plugging the power cord into the wall socket. Never run the motor dry while waiting for water to arrive.
The Physics of Canister Priming (Why Air Gets Trapped)
Understanding why your filter refuses to start comes down to basic fluid dynamics and atmospheric pressure. A canister filter motor is powered by a small magnetic impeller designed strictly to push water that is already surrounding it. It has zero suction capability for moving raw air. When air gets trapped inside the head housing, the impeller spins rapidly in a dry pocket—a destructive phenomenon known as cavitation.
When cavitation happens, the water loop breaks. Air compresses under pressure, whereas water does not. When you attempt to start a canister full of trapped air, the motor tries to compress the air pockets instead of pulling water down from the main tank. The siphon fails, the impeller spins dry at thousands of revolutions per minute, and friction rapidly builds up destructive heat around the ceramic shaft.
- The Good Side: Once a sealed water column is established, atmospheric pressure continuously pushes tank water down into the bucket, creating an effortless closed-loop circulation system that runs dead silent.
- The Negative Point: If even a tiny air bubble breaks that vacuum seal, the system loses primed momentum completely, turning your high-end filter into a noisy plastic noisebox.
Step-by-Step Guide on How to Prime a Canister Filter Fast
Method 1: The Zero-Pump Gravity Blast
This is by far the fastest and most reliable way to fill a canister without touching a broken built-in push button.
- Turn off the power strip completely and close both valve taps on the filter head.
- Disconnect the canister unit, carry it to your sink, and dump out every single drop of dirty water inside the canister body.
- Clean your media pads, lock the motor head down tightly, and ensure the rubber main gasket is sitting flush in its groove.
- Place the bone-dry canister back inside your aquarium cabinet, strictly below the tank’s water level. Reconnect the quick-disconnect hose manifold.
- Make sure the output return pipe (or spray bar) is elevated above the aquarium water level, venting open into the ambient air.
- Snap open the intake tap valve first, then snap open the output tap valve.
- Gravity will instantly pull tank water down the intake pipe, creating a massive rush of hydro-pressure that completely floods the canister bucket from the bottom up, forcing all internal air out through the top output hose.
- Wait 45 seconds until you hear the water stop sloshing inside the bucket. Plug the power cord into the wall.
Method 2: The Intake Hose Siphon Pour
If your filter hoses are already empty and full of trapped air pockets, gravity needs a small manual push to get started.
- Disconnect the main return hose from your spray bar or output nozzle above the waterline.
- Grab a simple plastic kitchen funnel and insert it directly into the top open end of the intake hose line.
- Slowly pour fresh, dechlorinated tap water straight into the funnel until the entire intake hose line is filled to the top brim.
- Quickly remove the funnel and reconnect the line to the closed valve connection on top of the canister filter lid.
- Crack open the valves. The heavy weight of the water column sitting in the filled hose line will force its way down into the empty canister, establishing an instant siphon without needing manual pumping.
The Reality of the Battlefield
Every filter manufacturer loves to show off shiny advertisements featuring soft-touch primer buttons, quick-latch handles, and self-priming electric helper motors. But when you are down on your knees dealing with actual aquarium detritus, real-world physics breaks these marketing promises quickly.
The built-in manual push-plunger found on most standard canisters is legendary for failing when you need it most. They work great for the first couple of months, but fine micro-particles of fish waste, mineral deposits, and bio-slime eventually coat the internal rubber plunger rings. The next time you press down firmly to prime the unit, the plunger sticks in the bottom position or rips its internal seal, creating an irreversible air leak that draws endless microbubbles into your water column.
Self-priming internal motor pumps sound convenient on paper. However, these tiny internal auxiliary impellers feature thin plastic blading that easily snaps when jammed by a single strand of stray gravel or a tiny snail shell. Once that internal priming valve cracks or jams open, your primary motor head will draw air permanently, leaving you with an expensive unit that requires manual suction hacks just to survive a simple filter pad wash.
Common Siphon Errors and The Living Room Flood Scenario
Imagine this classic hobbyist blunder: You just finished a deep clean on your canister filter. You carry the heavy, water-filled bucket back to the cabinet, set it down, and plug it in immediately before letting the air purge out. The motor screams like a dry blender. Panic sets in. You decide to loosen the top valve block while the motor is plugged in, hoping to let the air out.
Instead of venting air, the pressurized atmospheric column instantly forces water backward out of the unseated O-ring joint. Water sprays against the wooden cabinet walls, drips into the electrical power strip below, and floods two gallons of water onto your hardwood floor before you can pull the wall plug.
This human error happens because people treat canister filters like simple submersion pumps. They forget that a canister operates under continuous gravitational pressure. Never break an O-ring seal or open a filter head latch while the system hoses are under active siphon pressure. Always isolate your valves first, relieve hose line pressure, and keep your power turned off until the unit is fully flooded.
Equipment Comparison: Priming Reliability vs. Real World Maintenance
| Filter Priming Mechanism | Siphon Speed | Failure Point | Long-Term Reliability | Ease of Manual Bypass |
|---|---|---|---|---|
| Manual Push Plunger | Moderate | Internal O-ring tear / Sticking shaft | Low | High |
| Integrated Lever Pump | Slow | Snap-lever plastic teeth | Medium | Moderate |
| Pre-Filled Gravity Siphon | Instant | Loose hose clamp seals | High | Extremely Easy |
| Automatic Auxiliary Motor | Fast | Burned out mini-coils / Snail jam | Low | Difficult |
| Direct Mouth/Bulb Siphon | Fast | Check-valve debris blockage | High | High |
Advanced Priming Hacks from an 8-Year Goldfish Tech
Over my eight years of keeping high-waste fancy goldfish, running a massive 100-gallon (400-liter) tank, and handling delicate fabric work as a professional seamstress, I have learned that long-term success comes down to tiny details and strict precision. Running long-distance marathons teaches you not to rush the finish line—and you must bring that same patient mindset to your aquarium plumbing.
Here are three insider hacks that save your impellers and prime your system instantly:
- The Silicone Grease Shield: Every time you open your canister for a media rinse, wipe down the main perimeter rubber gasket and quick-disconnect O-rings with a thin layer of 100% pure aquarium-safe silicone lubricant. Dry O-rings drag against plastic housing, creating microscopic air gaps that ruin suction pressure.
- The Output Submersion Trap: Never leave your output spray bar submerged under five inches of tank water while trying to establish a new siphon. The heavy weight of that upper water column acts like a liquid cork, trapping air inside the hose. Always pull the output spray bar completely out of the water so internal air vents freely into the room.
- The Intake Hose Snag Sweep: Biofilm and stringy algae act like sticky tape inside intake lines. When fluid velocity drops, air bubbles get trapped along the internal ridged walls of flexible tubing. Clean your hoses with a flexible pipe brush twice a year to maintain smooth, laminar flow that prevents air pockets from forming.
Troubleshooting Checklist
- Confirm how to prime a canister filter fast by starting with a completely drained, empty filter body so gravity can work unhindered.
- Verify that your canister filter bucket sits entirely below the tank water level, maintaining at least 12 to 18 inches of drop height.
- Check that the quick-disconnect valve lever is flipped to the completely open position on both the intake and output lines.
- Pull the output spray bar or return nozzle above the water line to allow trapped air to escape without fighting water pressure.
- Inspect the main motor head O-ring for dried crack lines, stretched rubber, pinched edges, or stuck dirt particles.
- Ensure all flexible vinyl hose connections are securely pushed over their barbed fittings and locked down with threaded collars.
- Check the intake strainer at the bottom of the tank to make sure it is not clogged with decaying plants, leaves, or fish waste.
- Never operate the filter motor dry for more than five seconds if it fails to pick up water right away.
- Lightly rock the canister body back and forth at a 15-degree angle to burp trapped air out of the biological media baskets.
- Inspect internal quick-disconnect valve balls to verify they are turning fully parallel inside the plastic hose housing.
- Ensure no flexible vinyl hoses contain sharp kinks, saggy loops, or long u-shaped dips behind your aquarium stand.
- Confirm your power outlet strip is equipped with a functional drip loop to prevent water splashes from shorting the circuit.
👇 Looking for more performance cheats? Check out our field-tested tactical blueprints:
The Goldfish Ecosystem Blueprint
Complete your advanced technical training loop by exploring our core evergreen resources.
How to Feed Goldfish for Maximum Lifespan
A deep breakdown of digestive tract mechanics, bloating prevention, and premium sinking diets.
How to Maintain a 100 Gallon Goldfish Tank
Large-scale system parameters. Deep sand bed mechanics, nitrogen cycling, and bioload management.
Ultimate Guide to Goldfish Tank Filtration
Heavy-duty hardware configurations. Optimizing parallel canisters, bio-media setups, and automation.
Exhausted Bench Tech FAQ
Why is my canister filter making a loud rattling noise after priming?
Your motor is grinding trapped air around the impeller blades. Unplug the power cord immediately. Firmly grab the sides of the filter canister and tilt the entire unit sideways at a 20-degree angle while giving it a gentle shake. You will hear a large burst of air burp up through the output line. Once the burping stops, plug the cord back in.
Can I prime a canister filter if it is already full of water?
You can, but it is much harder. A filter full of stagnant water has no space for air to displace into. You have to manually force water into the intake line using an external squeeze bulb or a sink adapter. Save yourself the headache: drain the canister bucket completely, reconnect the hoses dry, and let gravity fill the unit effortlessly.
Why does my filter lose its prime every time the power goes out?
You have a tiny micro-leak in your suction line or a dry motor head gasket. When the motor runs, negative pressure masks small leaks. But when the power cuts out, gravity forces water down, pulling air in through unsealed hose joints, cracked O-rings, or loose vinyl clamps. Coat every O-ring with pure silicone grease and tighten your hose locks.
Is it safe to suck on the output hose with my mouth to start a siphon?
It works, but it is a disgusting, outdated practice that puts you in direct contact with dangerous biological aquarium bacteria. Use a simple hand-squeeze siphon bulb or rely on the dry-bucket gravity filling method explained above. There is zero reason to put aquarium plumbing in your mouth.
Why are tiny microbubbles constantly blowing out of my spray bar?
Air is actively entering your system on the intake side. Check the quick-disconnect valve block on top of the canister lid. Nine times out of ten, the tiny rubber O-rings inside the double-tap connectors are bone dry or misaligned, allowing the vacuum force of the pump to suck in ambient air from inside your cabinet.
Will running a canister dry damage the motor?
Yes, absolutely. Modern aquarium canister pumps rely on the surrounding water flow to cool the magnetic rotor and lubricate the ceramic shaft sleeve. Running a pump dry for just a few minutes generates severe friction heat that warps the plastic impeller well, snaps delicate ceramic shafts, and permanently destroys the potted motor block.
Why does my built-in primer button stay stuck at the bottom when I push it down?
The internal rubber piston ring is completely coated in dried bio-slime and lime scale. The dry friction locks the piston inside its cylinder bore. Stop forcing it before you break the plastic push rod. Bypass the button entirely by using the dry-bucket gravity method, or disassemble the head casing to clean and lubricate the piston assembly.
How much drop height do I need between my tank and the filter?
You need at least 1.5 to 2 feet (45 to 60 centimeters) of vertical elevation drop from the top of your aquarium water level down to the base of the canister filter. If the canister sits directly alongside the tank on the exact same surface level, gravity cannot build enough pressure head to push water down into the bucket during setup.
🛡️ │ WHY TRUST SKYTC GOLDFISH CARE CURATION?
At SKYTC, we hold aquatic ecosystem biology and biological parameter handling to a rigorous standard. We are not an automated affiliate review engine; we apply hands-on tests and serious filtration engineering workflows to ensure every recommendation guarantees the health and maximum lifespan of your fish with absolute safety.
✓ Engineering:
Structural experience backed by heavy-duty filtration math, continuous hydraulic turnover metrics, and robust mechanical support for large-scale coldwater systems.
✓ Expertise:
Focuse on preventative biological husbandry and premium nutrition. Thoroughly auditing biological media, sinking feeds, and elements that completely neutralize ammonia spikes.
✓ Authority:
Curation signed by real keepers running a balanced 100-gallon display ecosystem for over 8 years, pairing daily practical benchwork with direct wholesale breeder insights.
✓ Trust:
Product selections built on unfiltered transparency—exposing actual electrical draws, heat dissipation issues, and hidden costs before any Amazon recommendations.
📸 Our Journey in the Real World
From daily living room tank turn rates to macro-scale breeding setups.

🏠 The 100G Lab
Where we torture test every hardware option, pellet line, and filter layout live.

🏃♀️ Grit & Eye
Marathon endurance meets the precise, millimeter structural focus of a seamstress.
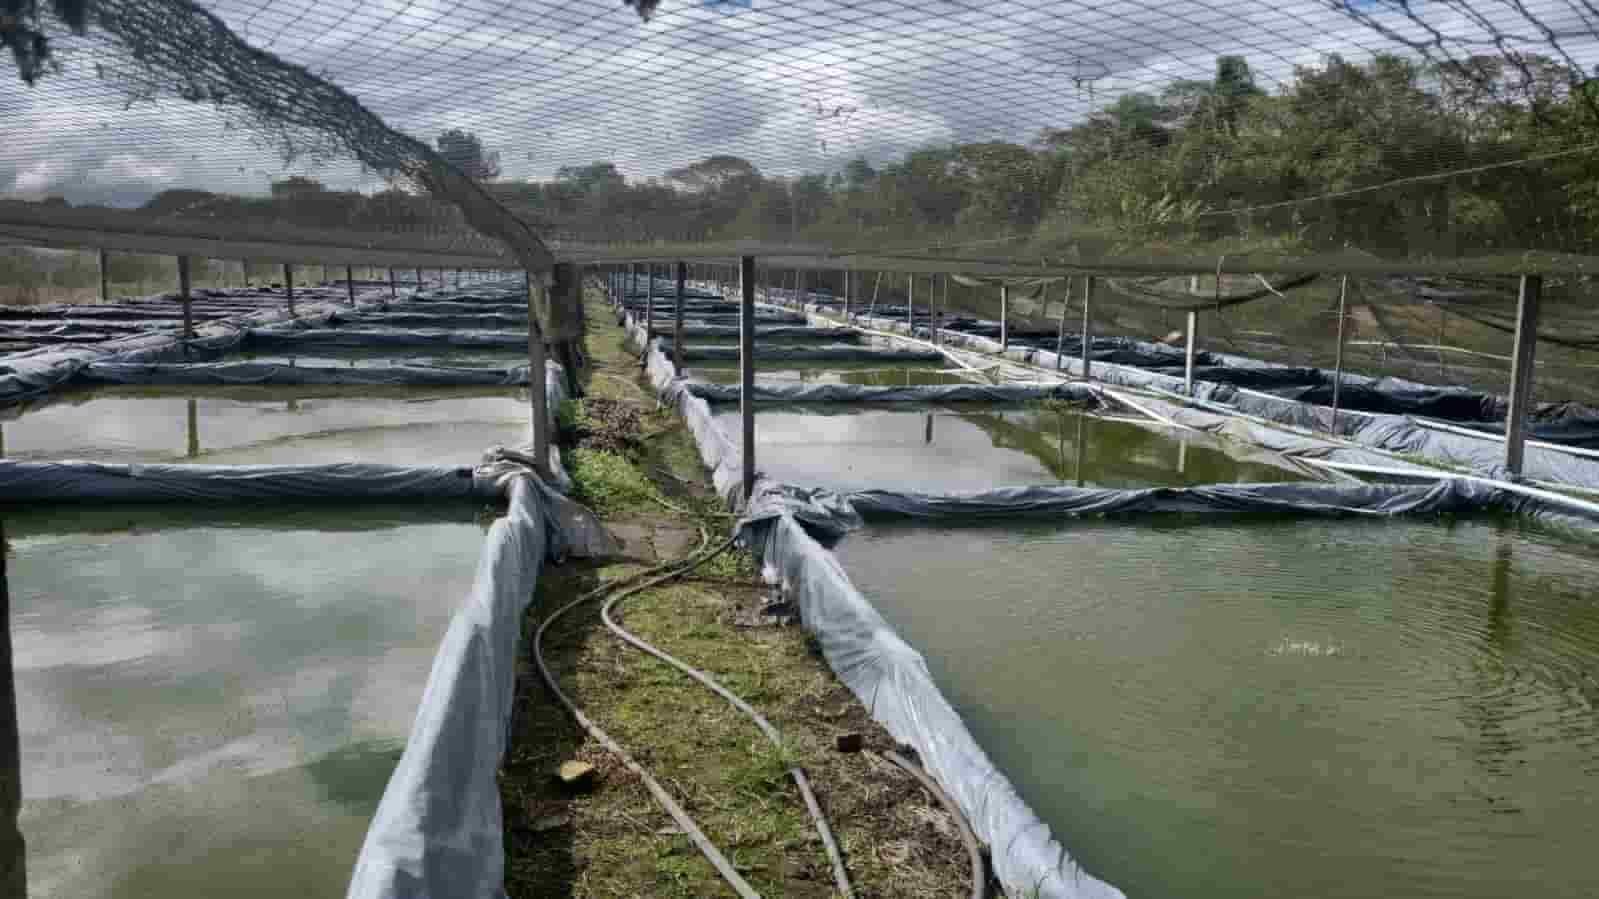
🐳 Monster Vats
Analyzing massive continuous turnovers inside large open-air mud farm vats.
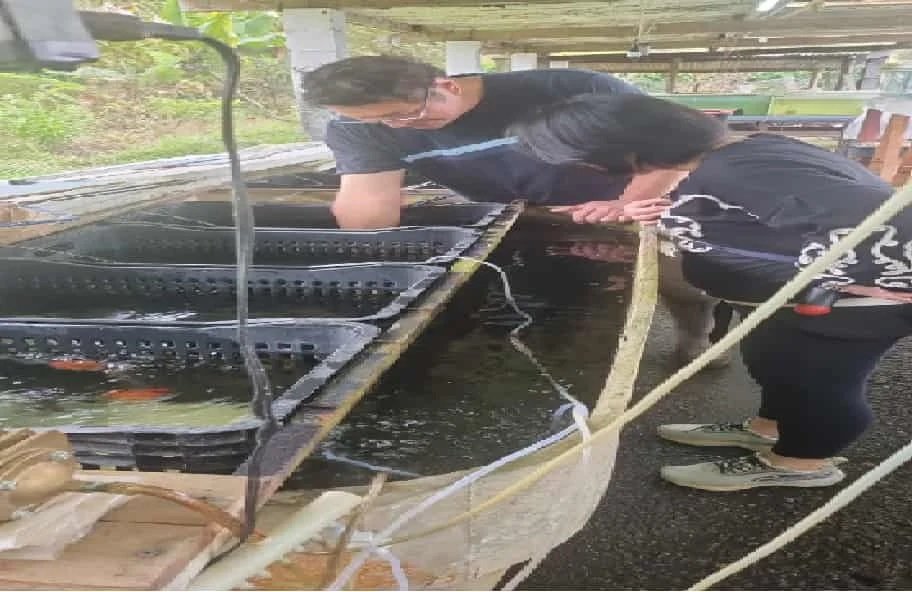
🤝 True Alliances
Working hand-in-hand with regional facility operations to target elite fancy bloodlines.
Read also: Best Spray Bars for Canister Outputs
A deeply technical piece of content that perfectly complements this post — absolutely worth the read.